How to Do French Tips with Gel Extensions
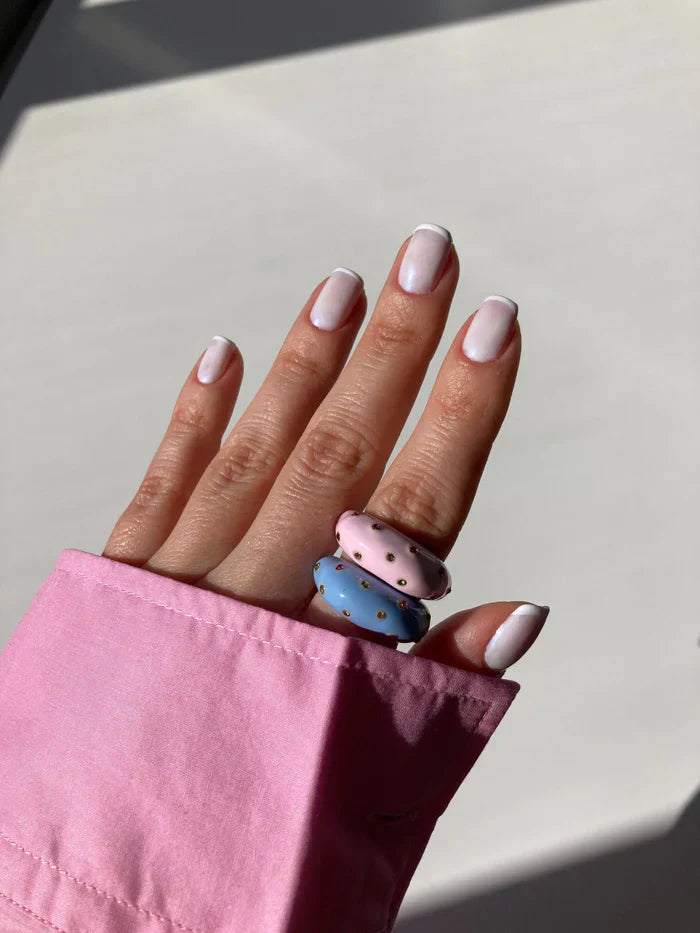
French tips are the ultimate timeless manicure—chic, clean, and universally flattering. But what if you want that elegant white-tipped look and the strength and length of salon-quality extensions? Good news: you can have both, right at home, with Ezmio’s French Tip Gel Extensions.
In this step-by-step guide, we’ll walk you through exactly how to use the Ezmio French tip gel extensions, using our 2in1 Base Coat and Extension Gel Adhesive, pre-designed tips, and curing tools. It's easier than you think, and the results? Salon-perfect, every single time.
Why Choose French Tip Gel Extensions?
While traditional polish French tips look lovely, they can chip or wear down quickly—especially on shorter nails. That’s where Ezmio French Tip Gel Extensions shine. They give you:
- Instant length
- Durable wear
- Picture-perfect white tips
- A smooth application process—no need to paint the smile line, the french tip is already painted!
Unlike other store-bought kits, our system is damage-free, beginner-friendly, and built with the same pro-grade materials used in salons. Oh, and did we mention we’re a 100% women-run business? 💅 Thank you for supporting women in beauty!
What You’ll Need
- Ezmio French Tip Gel Extensions in your desired shape and shade
- Ezmio 2in1 Base Coat and Extension Gel Adhesive
- Ezmio Flash Cure Lamp
- Ezmio Nail Lamp
- Ezmio Optional Top Coat
- 100% Isopropyl Alcohol & lint-free wipes (optional)
How to Do French Tips with Gel Extensions: Step-by-Step
1. Prep Your Nails Like a Pro
Before applying any product, nail prep is essential. Make sure you follow our detailed Nail Preparation guide (linked here) to clean, buff, and dehydrate your nails properly. This helps the gel adhere better and keeps your mani chip-free for longer.
2. Apply Gel Adhesive to Your Nail
Start with your pinky and move toward your index finger (save your thumbs for last—they’re easier to manage this way). Apply a thin layer of Ezmio 2in1 Base Coat and Extension Gel Adhesive to your natural nail, leaving a margin between the nail and cuticle edges. Leaving a gap around the sides and cuticle prevents overflow and gives a cleaner finish.
3. Apply Gel to the Tip
Take your Ezmio French Tip Gel Extension and apply a small drop of the 2in1 adhesive underneath the tip, right where it meets your cuticle edge.
💡 Pro Tip: Use just enough gel to create a seal—too much can cause overflow, too little might cause air bubbles.
4. Attach and Flash Cure
With your Flash Cure Lamp ready, position the extension at the cuticle and roll it forward toward the free edge. Once in place, flash cure for 10 seconds.
Troubleshooting tips:
- Bubbles? Gently lift the extension and add a tiny bit more gel adhesive.
- Overflow? Remove the extension, clean with alcohol, and reapply.
This part may take a couple of tries if you’re new—but once you get the feel, it’s smooth sailing!
5. Fully Cure Under the Nail Lamp
Once all your tips are flash cured and in place, fully cure your whole hand under the Ezmio Nail Lamp for 60 seconds. This locks everything down securely.
6. Seal the Top to Prevent Chipping
After curing, apply a thin coat of the 2in1 Base Coat and Extension Gel Adhesive on top of each nail and cure for another 60 seconds. This layer is crucial—it seals in the white tip and prevents chipping or wear.
7. Top Coat & Final Cure
Finish with a single coat of Ezmio’s Optional Top Coat for that glossy, glassy finish. Be sure to cap the free edge to protect the ends. Cure one last time for 60 seconds.
Final Thoughts
And just like that—you’ve mastered how to do French tip gel extensions at home. Ezmio’s system is not only beginner-friendly, but also designed for durability, beauty, and ease. Whether you’re prepping for an event or just want long, chic nails that last, this method gives you the best of both worlds.
Thanks for supporting Ezmio, a 100% women-run brand committed to creating powerful, pro-level nail tools and products that actually work from home.
Ready to level up your mani? 👉 Shop the Ezmio French Tip Gel Extensions and experience the easiest, longest-lasting French mani ever.
Frequently Asked Questions
▶ Are Ezmio French Tip Gel Extensions reusable?
No, our French Tip Gel Extensions are designed for single use only, just like salon-quality gel tips. This ensures hygiene and a flawless fit every time.
▶ What makes Ezmio gel extensions better than other brands?
Our system uses a 2in1 adhesive base coat, simplifying your routine and cutting down on excess steps. Plus, our pre-designed white tips are sleek, even, and require zero painting. No other kit matches this quality or ease!
▶ How long do the French Tip Gel Extensions last?
With proper prep and aftercare, you can expect 10–14 days of chip-free wear. Avoid excessive soaking or nail-biting to extend their life.
▶ Can I remove them at home?
Yes! Use an Ezmio Pro Nail Cutter, Remover File, a Gel Remover, and possibly a Scraper tool. First, cut down the extensions then, file down the gel extension until you reach the extension base. Then, apply Ezmio's Gel Remover and allow it to penetrate. Once the gel is softened, use a scraper tool to gently lift and remove the extensions. If needed, repeat the process until all gel from the extension has been removed. Finally, buff off any remaining residue. Never rip them off, as this can damage your natural nails.
Learn how to apply the easiest French Tip Gel Extensions at home with Ezmio 👑💅 #frenchtips #nailtutorial #EZMIO


