Jelly Nails Are Back: The 90s Trend You Need to Try

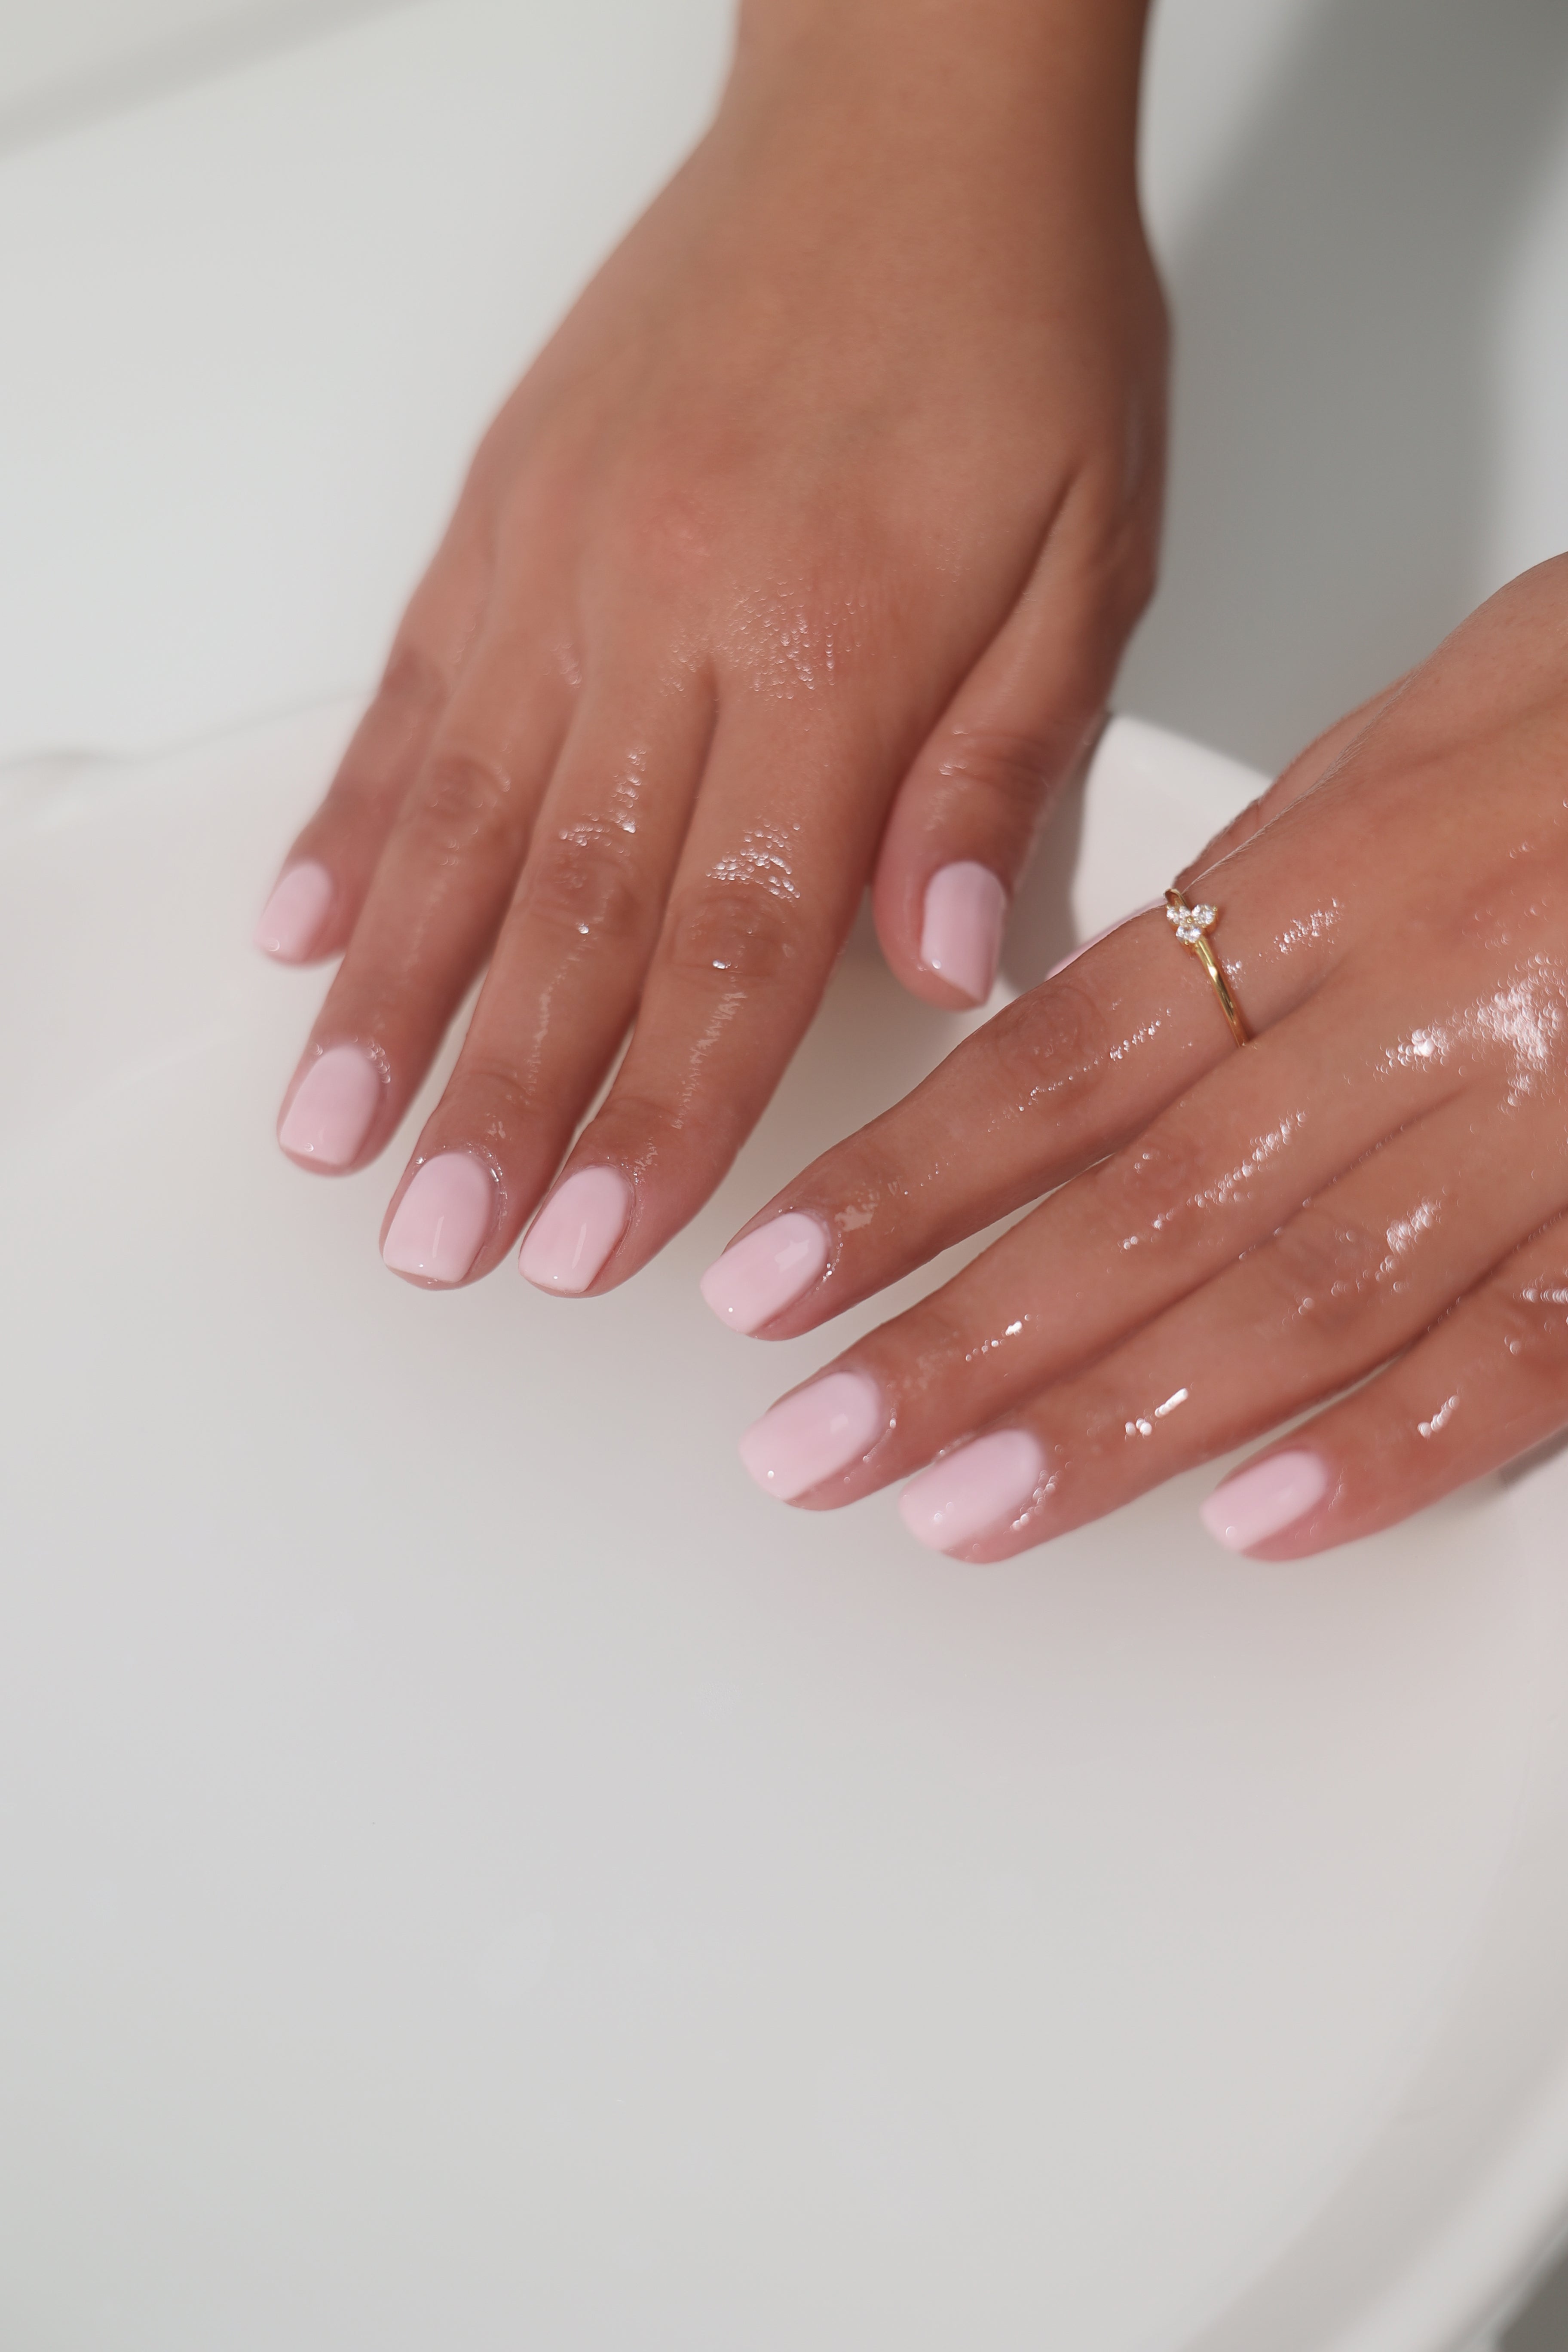
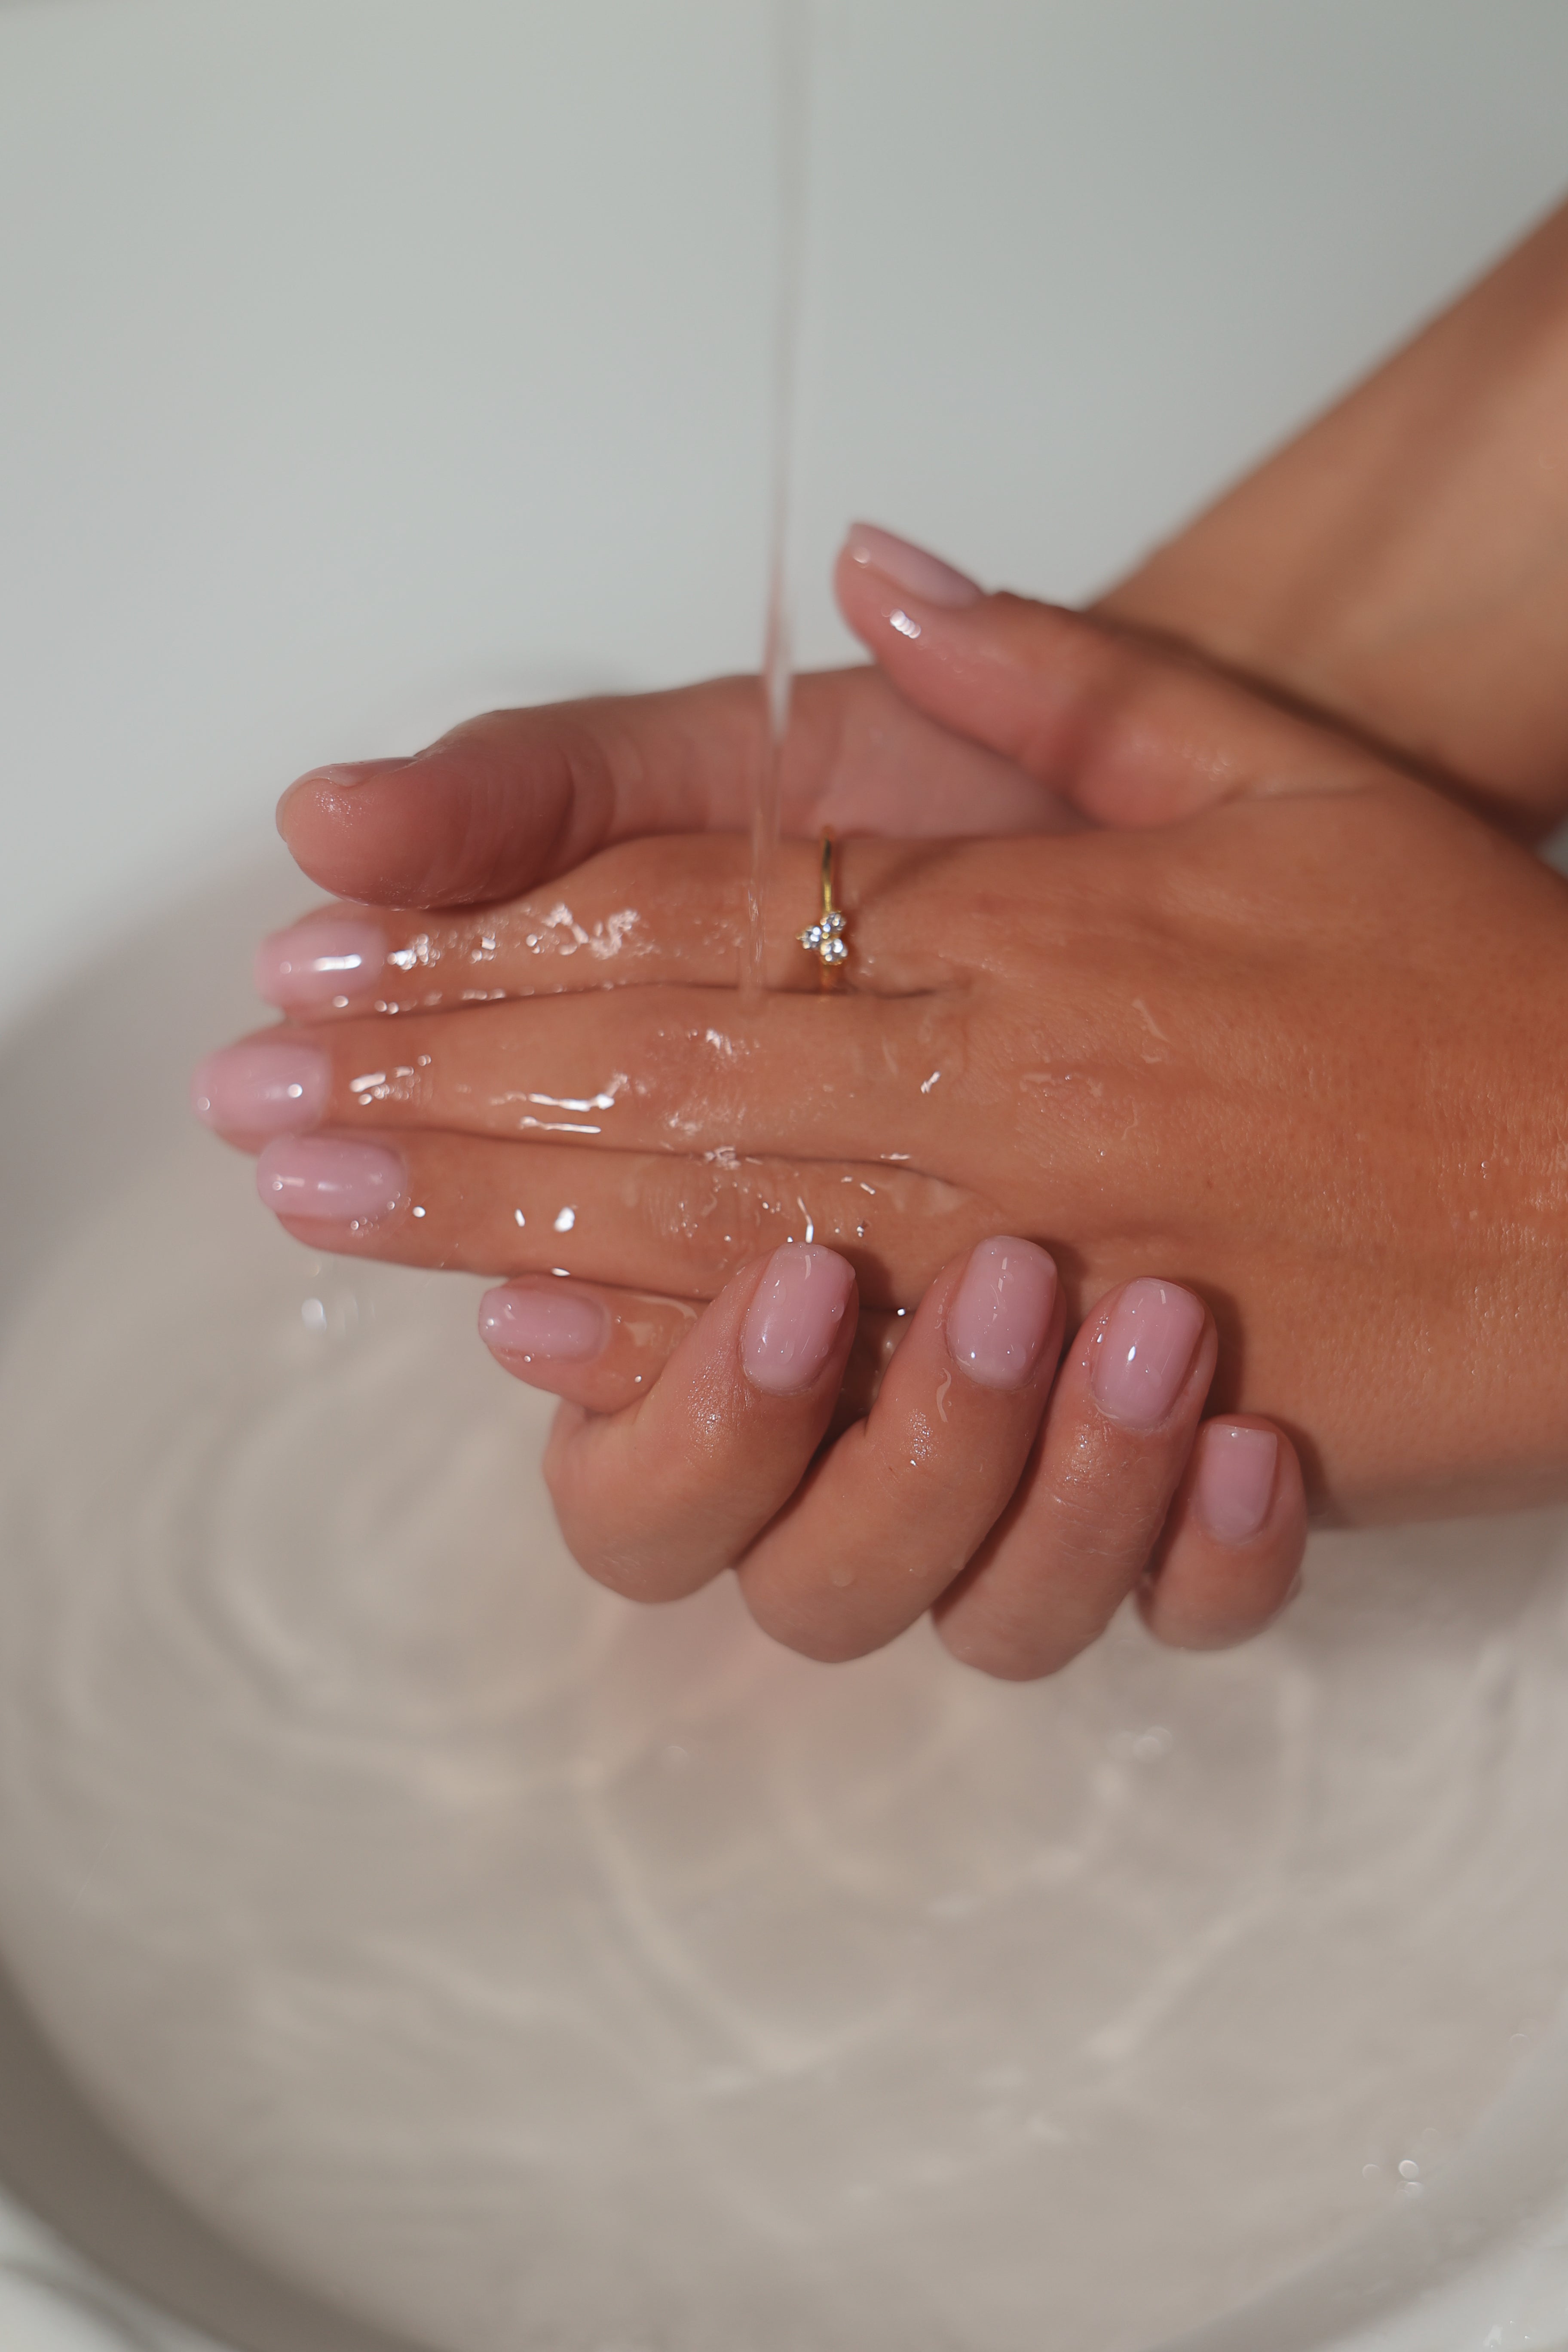
Like every great and iconic trend from the 90s, jelly nails are making a vibrant comeback. They don’t call us the generation of nostalgia for nothing, right? Jelly nails offer a glossy, translucent finish, reminiscent of your favourite lip gloss when you were growing up. Hailey Bieber and Rihanna have been seen sporting the style, helping the trend go viral and with good reason. Jelly nails add a playful yet polished touch to manicures, making them one of the must-try clean girl aesthetic looks.
If you’re old enough to remember glitter jelly shoes, jelly backpacks, lava lamps—and you never left the house without an excessive amount of jelly lip gloss on—then you have got to try this nail trend.
Thankfully, you don’t need to go to the salon to recreate this look. Jelly nails are surprisingly easy to recreate, and we’ve got everything you need to join the jelly party.
Top Tip: Jelly nails look particularly good when your nails have some length. The translucent look of your extended nail gives it that jelly effect. But—we’ve created the perfect colour that gives you this jelly translucency without needing length. You’re welcome. 😉
What Makes a Real Jelly Nail?
The true “jelly” nail effect is all about translucency. Jelly nails are created using specially formulated sheer builder gels that allow light to pass through, giving a glassy, see-through look—just like a gummy sweet. Each thin layer of builder gel adds depth without losing that playful, transparent finish. The best thing about our jelly colours is that they cannot go opaque because the formula is sheer.
Jelly Nails: Builder Gel Application
Builder Gel colour: Lila
- For the perfect nail prep, please ensure you have read and followed our detailed 'How To' guide in our Nail Preparation Guide HERE.
- Begin by applying one coat of our 2‑in‑1 Base Coat and Extension Gel Adhesive. Be sure to cap the free edge for a complete seal, then cure for 60 seconds under our Nail Lamp.
Option One – Builder Gel Structure Application
- Apply a thin, even layer of Lila Builder Gel — this is your slip layer (do not cure this layer).
- Pick up a small bead of Lila Builder Gel and float it over the nail to build structure, focusing on creating a smooth apex.
- Use a thin liner brush in our Nail Art Brush Set to gently guide the gel toward the side walls and cuticle line for even coverage.
- Turn your hand upside down for a few seconds to help the gel self‑level and create the perfect shape.
- Flash cure the nail for 10 seconds under the Ezmio Nail Lamp or Flash Cure Lamp to prevent the gel from moving.
- Complete one finger at a time, then cure the entire hand for 60 seconds.
- Optional – After curing, remove the sticky layer with an Alcohol Prep Pad, then refine the shape of your nails using our Essential Buffer and Essential File.
- Apply a coat of our No Wipe Top Coat, making sure to cap the free edge. Cure for 60 seconds under our Nail Lamp.
- Finish by applying Cuticle Oil and gently massaging it into your skin for a salon‑quality result. Our no wipe top coat and Lila’s colour make for the perfect jelly nail look.
Option Two – Quick Application
- Apply 2 thin coats of Lila Builder Gel, curing for 60 seconds after each coat.
- Apply a coat of our No Wipe Top Coat, making sure to cap the free edge. Cure for 60 seconds under our Nail Lamp.
- Finish by applying Cuticle Oil and gently massaging it into your skin for a salon‑quality result.
Conclusion
So what are you waiting for? Try out the jelly nail trend now and put on your favourite Britney Spears CD. Make sure to tag us in your Ezmio nail creations—we can’t wait to see what you come up with!


