
How To Do Rose Water Nails At Home
What are Rose Water Nails?

If Belle from Beauty and the Beast had a favourite mani trend, then this would be it. Rose water nails are bringing a fresh twist to minimalist manicures. Originating from Korean beauty aesthetics, this trend takes inspiration from the delicate hue and translucency of actual rose water. Who doesn’t want their nail colour to resemble the most beautiful flower there is?
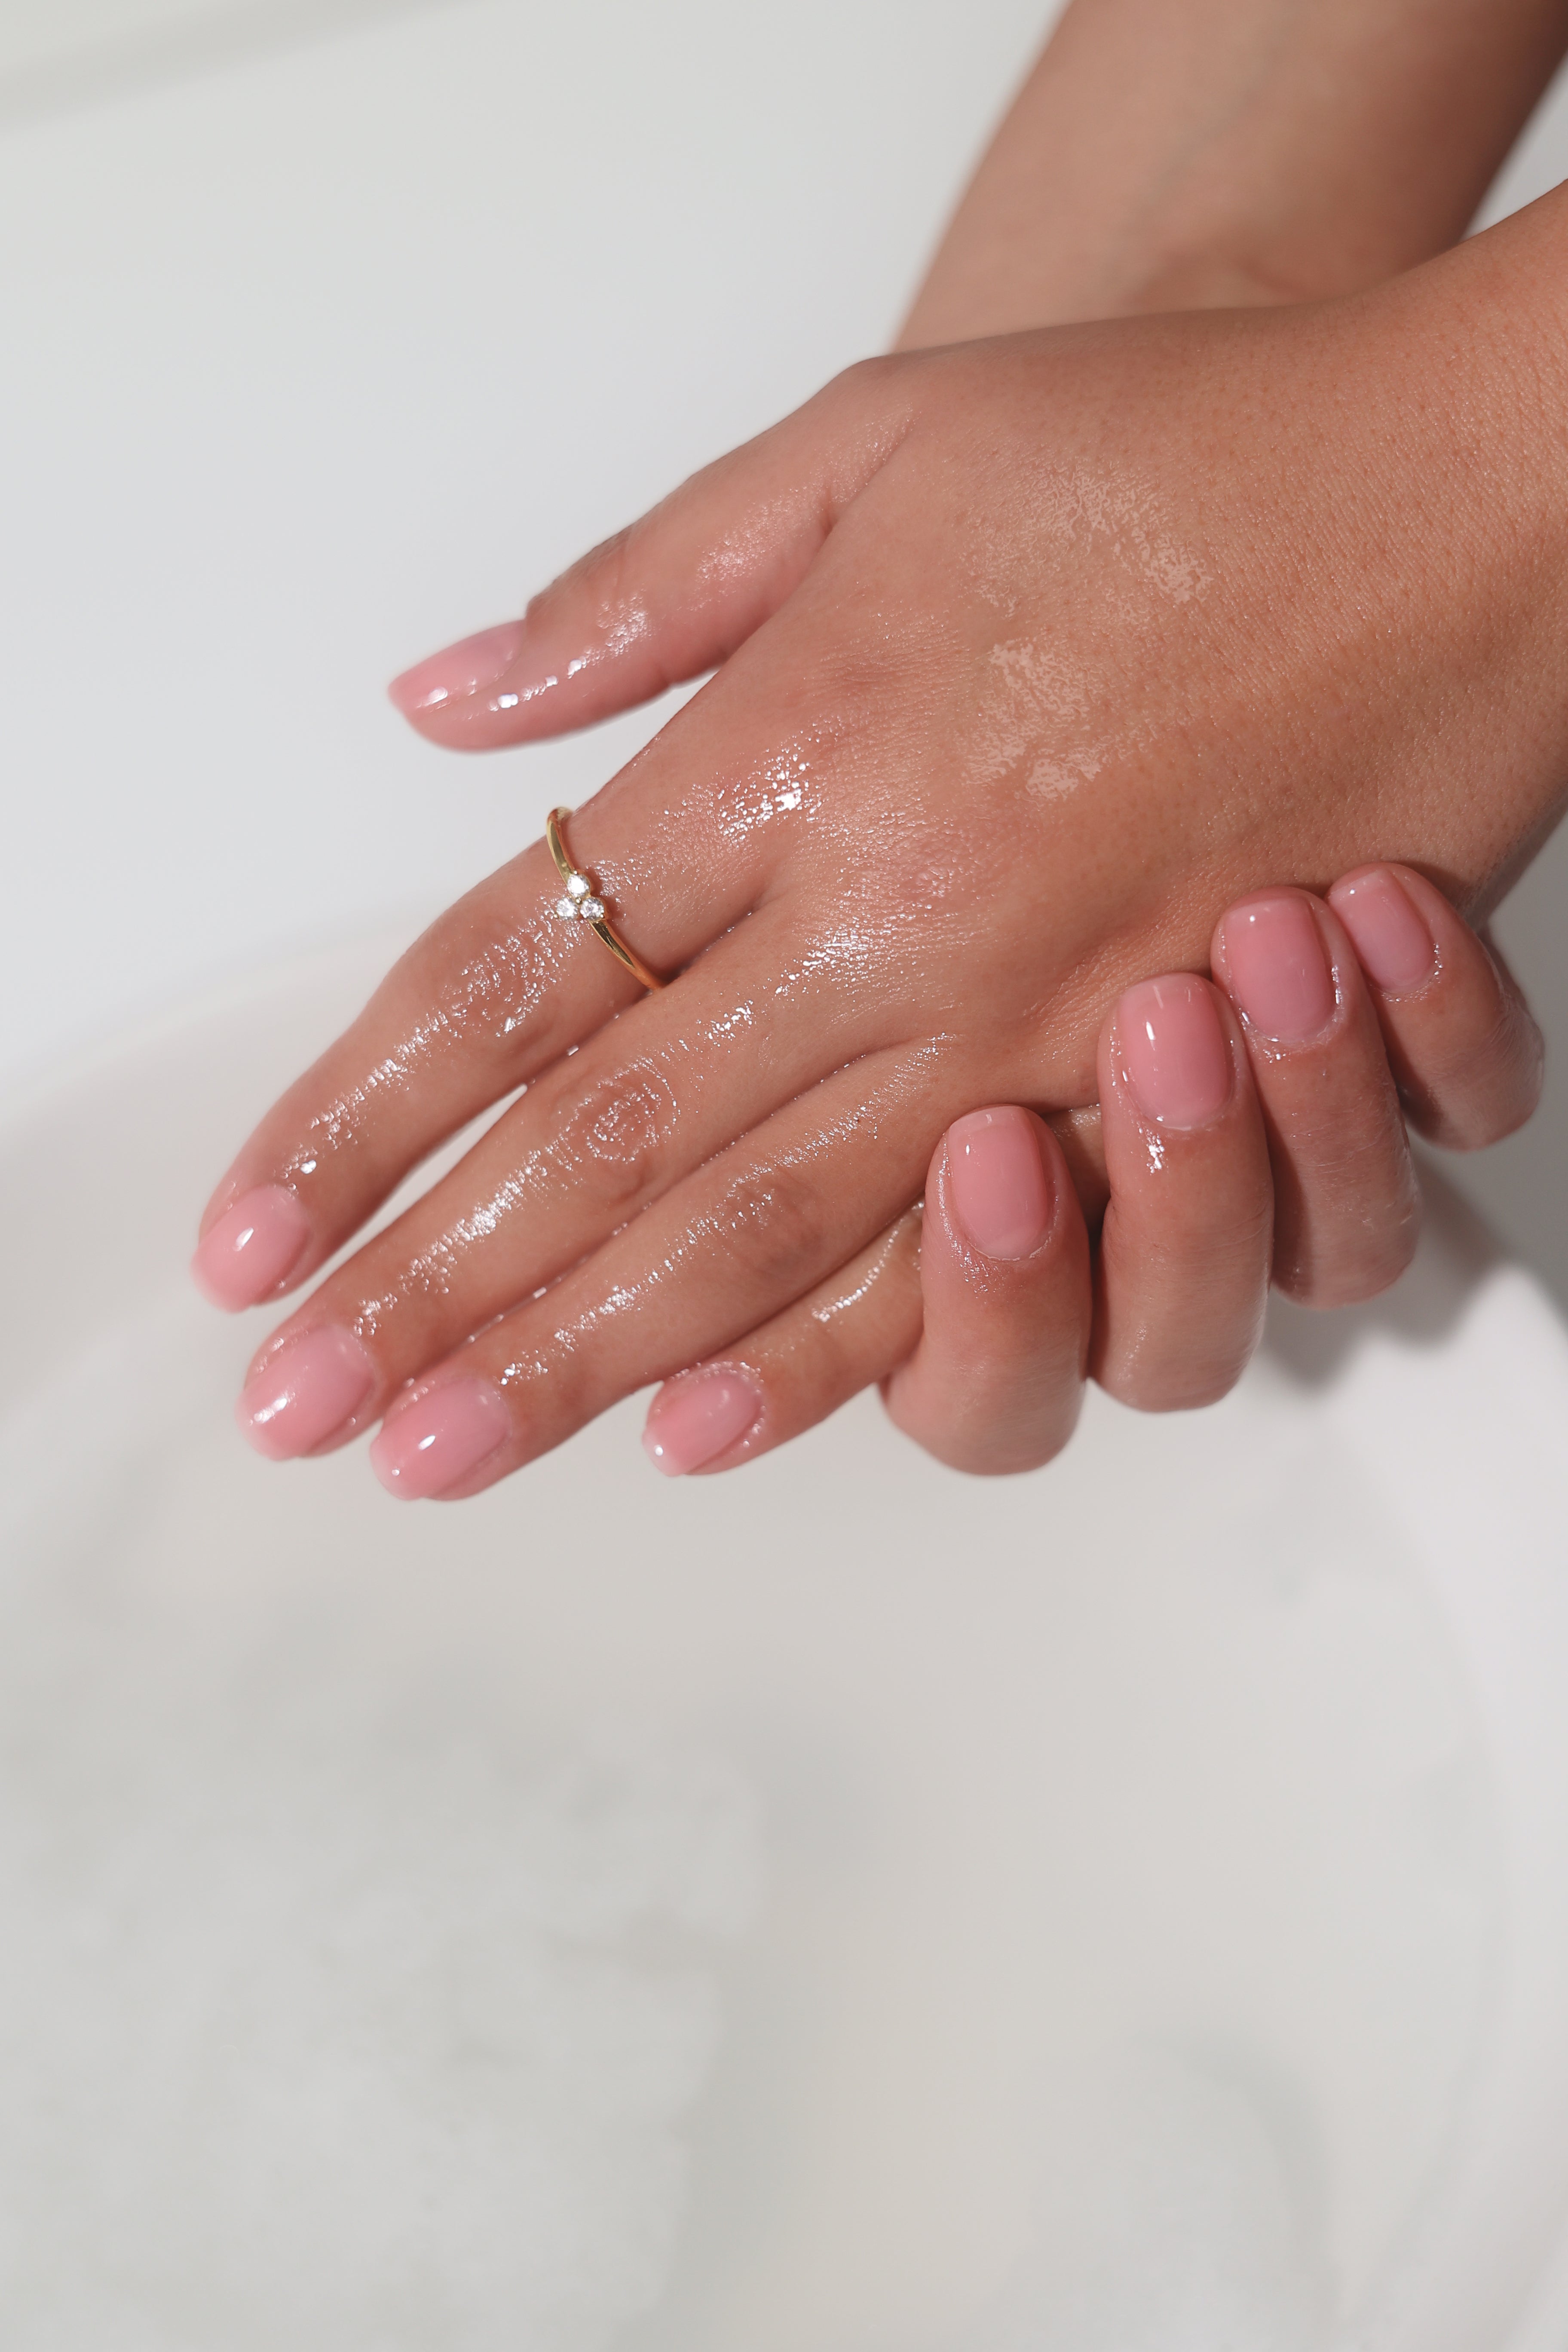
Characterised by their sheer, blush-tinted appearance, rose water nails offer a graceful, barely-there look, perfect for every occasion.
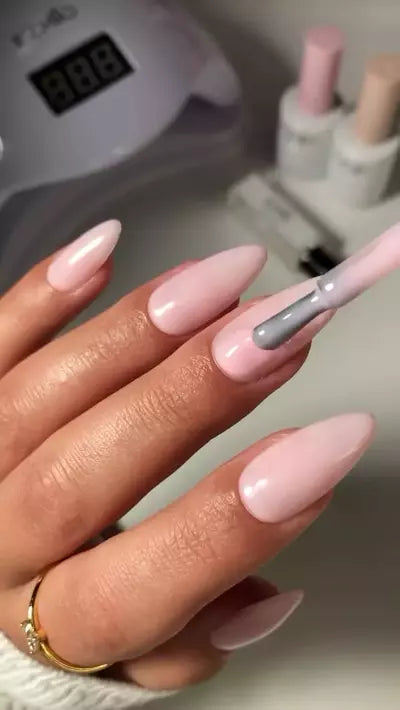
You know we just had to create the perfect rose water gel colour for you. Our hottest new shade “Lila” is a juicy, playful rose water pink. Lila adds a subtle pop that still feels clean and refined, like dipping your fingertips into a petal-soaked bath. Perfect for those days when you want a little more glow. We’ve even got this shade in both a builder gel and a one step gel polish, so you can choose your preference of how to recreate this floral look. Here’s how you can create your own rose water nails at home.
Rose Water Nails – Builder Gel Application
Builder Gel: Lila
- For the perfect nail prep, please ensure you have read and followed our detailed ‘How To’ guide under ‘Nail Preparation’.
- Begin by applying one coat of our 2in1 Base Coat and Extension Gel Adhesive. Be sure to cap the free edge for a complete seal, then cure for 60 seconds under our Nail Lamp.
Option One – Builder Gel Structure Application
- Apply a thin, even layer of Lila Builder Gel—this is your slip layer (do not cure this layer).
- Pick up a small bead of Lila Builder Gel and float it over the nail to build structure, focusing on creating a smooth apex.
- Use a thin liner brush in our Nail Art Brush Set to gently guide the gel toward the side walls and cuticle line for even coverage.
- Turn your hand upside down for a few seconds to help the gel self‑level and create the perfect shape.
- Flash cure the nail for 10 seconds under the Ezmio Nail Lamp or Flash Cure Lamp to prevent the gel from moving.
- Complete one finger at a time, then cure the entire hand for 60 seconds.
- Optional – After curing, remove the sticky layer with an Alcohol Prep Pad, then refine the shape of your nails using our Essential Buffer and Essential File.
- Apply a coat of our No Wipe Top Coat, making sure to cap the free edge. Cure for 60 seconds under our Nail Lamp.
- Finish by applying Cuticle Oil and gently massaging it into your skin for a salon-quality result. Our No Wipe Top Coat and Lila’s colour make for the perfect jelly nail look.
Option Two – Quick Application
- Apply 2 thin coats of Lila Builder Gel, curing for 60 seconds after each coat.
- Apply a coat of our No Wipe Top Coat, making sure to cap the free edge. Cure for 60 seconds under our Nail Lamp.
- Finish by applying Cuticle Oil and gently massaging it into your skin for a salon-quality result.
How to Rose Water Nails: One Step Gel Polish
Gel Colour: Lila Lather
- For the perfect nail prep, please ensure you have read and followed our detailed ‘How To’ guide under ‘Nail Preparation’.
- Gently roll your Lila Lather One Step Gel Polish bottle between your palms to thoroughly blend the formula.
- Apply a thin layer of our Lila Lather One Step Gel Polish onto the nails, ensuring meticulous coverage. Cure the polish for 60 seconds under our nail lamp. Maintain a slight distance from the cuticle and nail edges to prevent any polish from contacting the skin, thus ensuring a pristine finish. Repeat until you achieve the desired opacity.
- Apply Cuticle Oil to your cuticles and massage into your skin for a salon finish mani!