
How to Prep Your Nails Properly To Stop Lifting
Ariana Nicole created a nail prep tutorial using our products, and it's one of the best beginner-friendly guides I've seen for preventing lifting and peeling when you're doing gel polish, builder gel, or extensions at home. If your manicures keep failing after a few days even though you're following all the application instructions, the problem is almost always in the prep, not the gel itself, which is why this video matters more than you think it does.
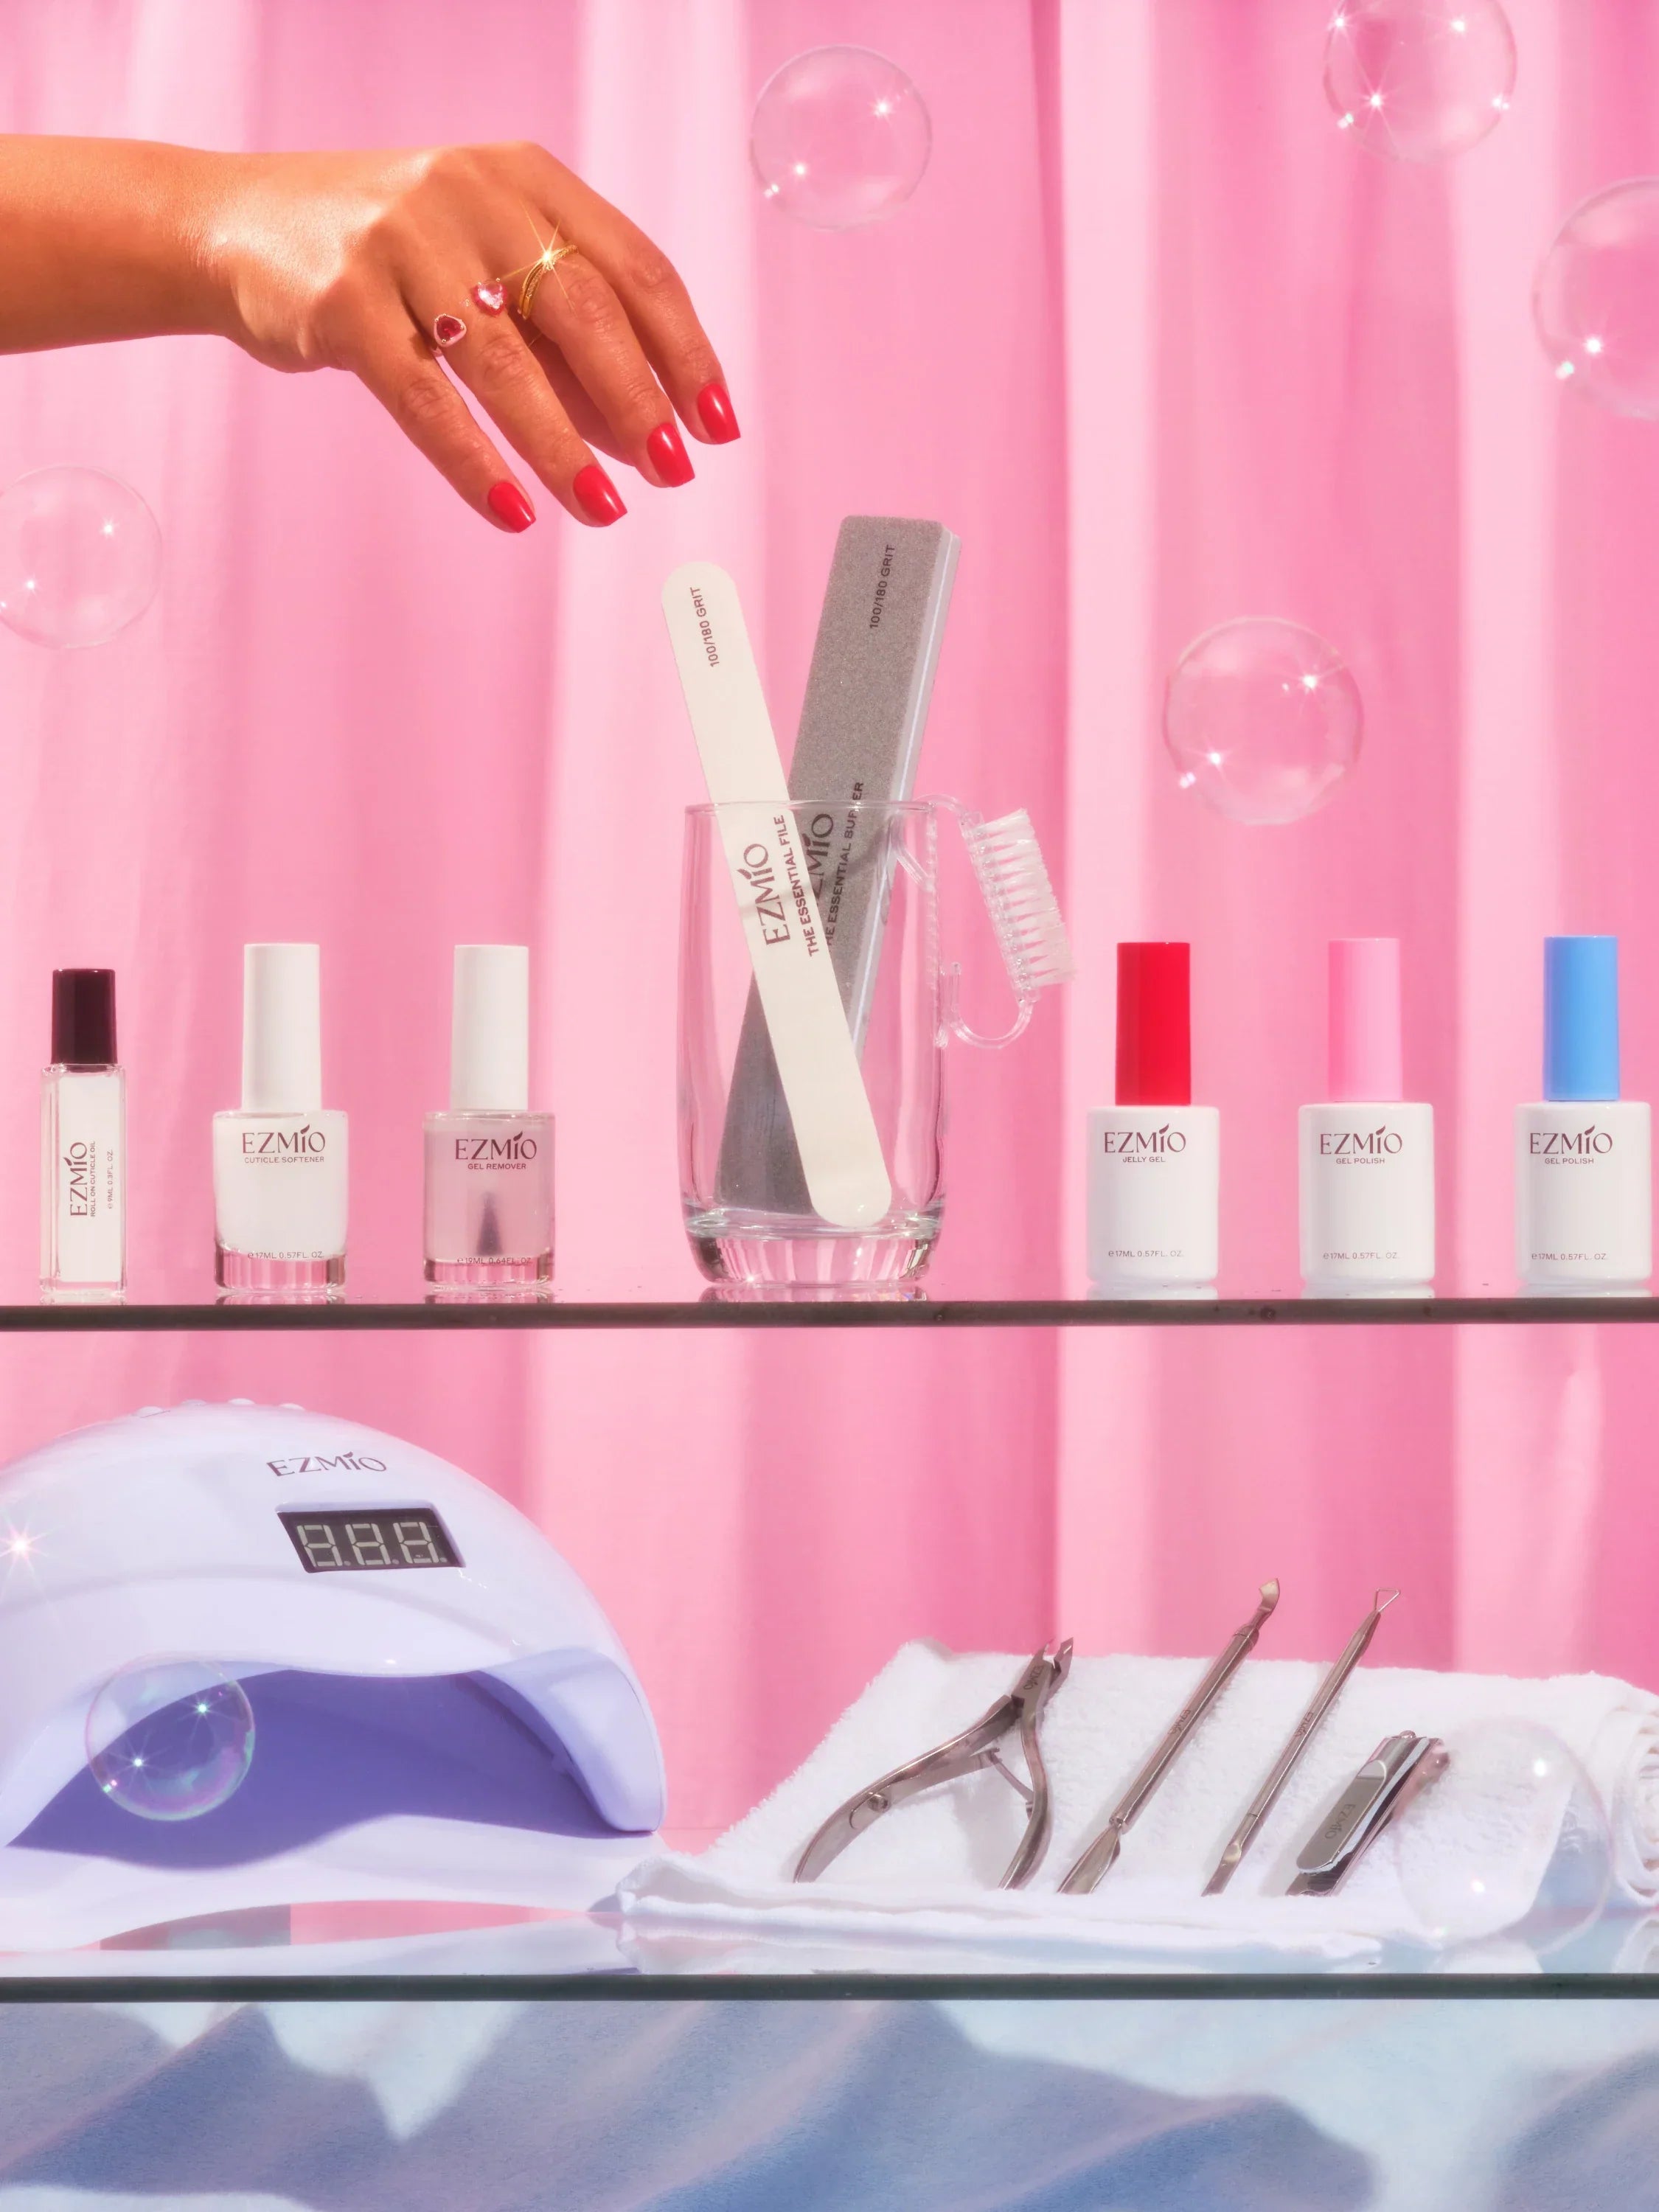
Our whole ethos around Ezmio came from being tired of watching women waste money on gel products that "didn't work" when the real issue was that nobody taught them how to prep their nails properly. Salons charge $60-80 for gel manicures and they don't tell you that 90% of the work happens before the colour even touches your nail, which is what Ariana's video breaks down step by step using the exact products we designed for home use.
Table of Contents
- → Who This Guide Is For
- → Why Proper Prep Matters More Than the Gel You Use
- → The Complete Prep Process (Step by Step)
- → Why Each Step Matters
- → Common Prep Mistakes
- → How This Prep Works with Different Gel Applications
- → What Happens After Prep
- → Why We Created These Specific Prep Products
- → How Long Does Proper Prep Take?
- → Watch the Full Tutorial
Who This Guide Is For
This is for anyone who's tried gel polish at home and had it peel or lift within 3-5 days. It's for women who think they're "bad at nails" when they're just skipping critical prep steps they didn't know existed. It's for people who watch nail tutorials and wonder why their results don't match what they see on screen.
If you've ever felt frustrated watching your polish peel off at the cuticle line after two days, this is exactly what you need to fix that problem.
Why Proper Prep Matters More Than the Gel You Use
You can buy the best gel polish in the world and it'll still fail if your prep is wrong. Gel needs a clean, dry, slightly rough surface to adhere to, and if your nails are oily, smooth, or have cuticle skin on them, the gel has nothing to grip onto, which is why it lifts at the edges within days even when you've cured it properly and used quality products.
Ariana's video walks through every single step of proper prep in the right order, which is critical because doing these steps out of sequence or skipping even one of them compromises the entire manicure. You can't buff before you push back cuticles because you'll just contaminate the buffed surface. You can't apply primer before dehydrator because the primer won't work on an oily nail. The order matters.
The Complete Prep Process (Step by Step)
Step 1: File Your Nails to Your Desired Length and Shape
Start with our Essential File to shape your nails and get them to the length you want. If your nails are too long, they'll have more leverage to break or bend, which puts stress on the gel and causes lifting, so keep them at a reasonable length until you've strengthened them with builder gel if they're naturally thin.
Our Glass File works for detail shaping and smoothing the edges after you've done the bulk of the work with the Essential File. Glass files are gentler on the nail plate emory board files and they don't cause the micro-tears that weaken the edge of your nail over time.
Use the Dusting Brush to remove all the nail dust after filing. This step seems minor but if you leave dust on your nails, it mixes with the dehydrator and creates a paste that interferes with adhesion, which is an easy mistake that ruins your prep before you've even started the important steps.
Step 2: Soften and Remove Cuticles
Apply our Cuticle Softener to the cuticle area and let it sit for 30-60 seconds. This softens the cuticle skin so you can push it back without damaging your nail plate or causing bleeding, which happens when people try to push back dry cuticles with too much force because they're in a hurry.
Use the metal Cuticle Pusher to gently push back the cuticle skin. Push at a 45-degree angle and use light pressure. You're not scraping the nail plate. You're just moving the cuticle skin back so there's a clean edge where your gel will sit without any skin barrier between the gel and your natural nail.
Orange Wood Sticks are useful for getting into the corners and side walls where the metal pusher doesn't reach as easily. They're also gentler around the cuticle area if you're prone to sensitivity or if you're working on someone else's nails and you're nervous about being too rough with the metal tool.
Step 3: Remove Excess Cuticle Skin with Nippers
Use Cuticle Nippers to carefully trim any loose or excess cuticle skin that's sitting on the nail plate after you've pushed everything back. Only cut the dead skin that's clearly lifted away from the nail, and don't cut into the live cuticle tissue because that'll bleed and hurt and create an entry point for infection if you're not careful.
This step is where most people either skip entirely or go too aggressive. Skipping it means you'll have cuticle skin under your gel, which causes lifting. Going too aggressive means you'll damage the cuticle and cause problems down the line, so take your time and only remove what's obviously excess and dead.
Step 4: Buff the Nail Surface
Use our essential buffer to lightly buff the entire surface of the nail plate, including the side walls. You're creating a slightly rough texture that gives the gel something to grip onto, similar to how paint adheres better to a roughed-up wall than a smooth one, which is why this step is non-negotiable for long-lasting gel.
Don't over-buff. You don't need to remove layers of your natural nail. You just need to break the shine and create a matte texture across the entire surface. If you buff too aggressively, you'll thin your nails and make them weak, which defeats the entire purpose of using gel to protect and strengthen them.
Use the Dusting Brush again to remove all the buffing dust. Any dust left on the nail will mix with the dehydrator and prevent proper adhesion, so brush thoroughly and make sure the nail surface is completely clean before moving to the next step.
Step 5: Dehydrate the Nail
Use Alcohol Prep Pads to wipe down each nail and remove any oils, dust, or residue from the buffing process. This is your first layer of oil removal and it's critical for nails that produce natural oils, which is most people even if they don't think they have "oily" nails, because your fingers produce oil throughout the day just from touching things.
Apply our Dehydrator to each nail and let it air dry for 30 seconds. Dehydrator removes moisture and oil from the nail plate, which creates a dry surface that gel can adhere to properly. If you skip this step, your nails will have a microscopic oil barrier that prevents the gel from bonding, which is why your manicures lift at the cuticle line within 2-3 days even when you think you've done everything right.
Step 6: Apply Primer
Apply our Primer to each nail as the final prep step before your gel application. Primer creates a sticky surface that helps the gel adhere to your natural nail, which is especially important if you have naturally oily nails or if you're applying builder gel or extensions that need a strong bond to support the weight and structure of the enhancement.
Let the primer dry for 15-20 seconds before applying your gel. It should look slightly tacky but not wet. If it's still wet when you apply your gel, the two products will mix and compromise the adhesion, so wait until it's properly dried to a tacky finish before you move on to your colour or builder gel application.
Why Each Step Matters (And What Happens When You Skip It)
Skipping Filing: Your nails are too long and they break or bend, which stresses the gel and causes cracking or lifting
Skipping Cuticle Removal: Cuticle skin sits under your gel and lifts within 2-3 days because gel can't adhere to dead skin
Skipping Buffing: Your nail surface is too smooth and the gel have nothing to grip onto, so it peels off in one piece after a few days
Skipping Dehydrator: Natural oils create a barrier between your nail and the gel, which prevents proper adhesion and causes lifting at the cuticle line
Skipping Primer: The gel doesn't have a sticky surface to bond to, which is fine for some nail types but critical for oily nails or heavy enhancements like builder gel and extensions
Each step builds on the previous step. You can't skip step 2 and expect step 5 to compensate. They all work together to create a clean, dry, slightly rough, oil-free surface that gel can properly adhere to for up to 2 weeks without lifting or peeling.
Common Prep Mistakes
Mistake 1: Doing Steps in the Wrong Order
Buffing before pushing back cuticles means you contaminate the buffed surface with cuticle skin and softener. Applying dehydrator before removing cuticle means the cuticle skin is still there under your gel. Order matters. Follow the sequence exactly as Ariana shows in the video.
Mistake 2: Rushing Through Cuticle Removal
This is the step most people rush because it's tedious and it doesn't feel as important as the actual gel application. But if you leave even a tiny bit of cuticle skin on the nail plate, that's where your gel will lift first, and once it starts lifting in one spot, the entire manicure fails within days.
Mistake 3: Not Letting Products Dry Properly
Dehydrator needs 30 seconds to evaporate. Primer needs 15-20 seconds to become tacky. If you rush and apply gel while these products are still wet, they won't work properly and your adhesion will be compromised even though you technically did all the steps.
Mistake 4: Using Dirty Tools
If your cuticle pusher has old product buildup on it or your buffer is contaminated with oil from your hands, you're adding contaminants back onto your freshly prepped nails, which defeats the purpose of cleaning them in the first place. Keep your tools clean. Wipe them down with alcohol after each use.
How This Prep Works with Different Gel Applications
For One Step Gel Polish
Follow all six prep steps exactly as shown in Ariana's video. One Step Gel is designed to work without a seperate base coat, but it still needs proper prep to adhere correctly, especially if you have oily nails or if you're aiming for the full 2-week wear without any lifting.
For Builder Gel
Same prep steps, but our 2in1 base coat becomes even more critical because builder gel is thicker and heavier than regular gel polish. The primer creates the sticky surface that holds the builder gel in place while you're shaping and smoothing it, which prevents it from sliding around or lifting at the edges during application.
For Gel Extensions
All six steps plus extra attention to buffing the side walls and the area where the extension will sit. Extensions put more weight and stress on your natural nail, so the adhesion needs to be perfect or the extension will pop off within a week, wasting your time and your money.
For Any Gel System
These prep steps work with any gel system, not just ours. Proper prep is universal. The products might vary slightly between brands, but the sequence and the purpose of each step remains the same regardless of which gel you're using for your colour or your enhancements.
What Happens After Prep (Next Steps)
Once your prep is complete, you're ready to apply your chosen gel system. If you're using One Step Gel, apply 2-3 coats depending on the colour, curing each coat for 60 seconds under our UV/LED lamp. If you're using builder gel, apply your base layer, cure, then add your colour, cure, then seal with our No-Wipe Top Coat if you want extra shine and protection.
The prep work you've just done is what allows those products to stay on your nails for up to 2 weeks instead of peeling off in 3 days. Without proper prep, even the best gel products will fail. With proper prep, even budget gel systems will perform significantly better than they would on an unprepared nail.
Why We Created These Specific Prep Products
Every product Ariana uses in that video was designed specifically for home use by women who don't have professional training. Our Cuticle Softener is gentle enough that you can leave it on for a full minute without burning your skin. Our Dehydrator evaporates quickly so you're not waiting 5 minutes between prep and application. Our Primer creates a tacky surface without the harsh acid primers that salons use, which can damage your natural nail over time if you're doing your own nails every 2 weeks.
Professional nail techs have access to industrial-strength products that aren't safe for home use, which is why we formulated our prep range to be effective but also safe for women who are doing their own nails without professional supervision or ventilation systems. The results are the same, but the products are safer for your environment and your nail health over the long term.
How Long Does Proper Prep Take?
For most people, 10-15 minutes per hand if you're doing it properly without rushing. That's 20-30 minutes total before you even start applying gel, which feels like a long time when you just want pretty nails, but that half hour of prep is what makes the difference between a manicure that lasts 3 days and a manicure that lasts 2 weeks without lifting or peeling.
If you're experienced and you've done this sequence multiple times, you can get it down to 15-20 minutes total. But when you're learning, take your time. It's better to spend an extra 10 minutes on prep and have a manicure that lasts than to rush through it and have your gel peel off by Wednesday.
Watch the Full Tutorial
Ariana's video shows every step in real time so you can see exactly how much pressure to use, how long to let products dry, and what the nail should look like at each stage. If you're a visual learner or if you've been doing your prep wrong and you're not sure where you're going wrong, watch the video and follow along with your own nails using the same products she's using.
The video is beginner-friendly, which means she explains why each step matters and what happens if you skip it. That context makes it easier to remember the sequence and understand which steps you can't shortcut even when you're in a hurry.
Your Manicure Starts with Prep
The gel you choose matters. The lamp you use matters. But prep matters more than both of those things combined, because without proper prep, your gel won't stick regardless of how good the formula is or how perfectly you've cured it, which is why Ariana's video focusing entirely on prep instead of the fun colour application part is valuable for anyone who's frustrated with gel manicures that don't last.
Do your prep properly. Follow the sequence. Use the right products. Your manicures will last. That's the whole point.
