
How to properly buff before gel application
Prep basics
Two minutes of prep that decides whether your gel lasts three days or three weeks.

Table of Contents
Why Buffing Isn’t Optional
Let’s talk about the step everyone rushes through - and why your manicures don’t last when you do. Proper buffing is the difference between gel that grips your nail for three weeks and gel that starts lifting by day three.
Buffing does three crucial things:
- Removes leftover polish residue from removal.
- Creates a smoother surface for even application.
- Roughens the nail just enough so gel actually adheres.
Skip it, or do it wrong, and nothing else matters.
The Right Tools for the Job
Use a 180-grit file
Go higher than 180 grit and you’ll make your nails too smooth — your gel will have nothing to grip.
Use a 100–120 grit buffer block
Use a 100–120 grit buffer block like the Ezmio Essential Buffer. Buffer blocks have a different surface texture than emery files, so even though the grit sounds rougher, it won’t damage nails the way a 100-grit emery file would.
The Proper Buffing Technique
Use the soft side of the Essential Buffer and gently buff the entire nail plate, covering all crevices. This is about finesse, not force.
Light pressure is key
You don’t want to buff away your natural nails and make them thin. You just want to slightly roughen the surface. Think light, consistent strokes - not aggressive scrubbing.
Pay attention to details
Look for leftover polish stuck to the nail plate and any flakes that will prevent your new gel from looking smooth. Remove them now or they’ll show through your fresh application.
Get into all the bends
This is where most people miss spots. When doing your sidewalls, hold your buffer parallel to your nail so you can get between the nail and cuticle area. This also helps smooth skin and catch hard-to-reach cuticle bits.
Don’t forget the free edge
Buff the tip end of your nail too. Every surface that will have gel on it needs proper prep.
The Complete Prep Sequence
Buffing is one part of proper nail prep. Here’s how it fits into the full routine:
- Buff properly with the Essential Buffer (as described above).
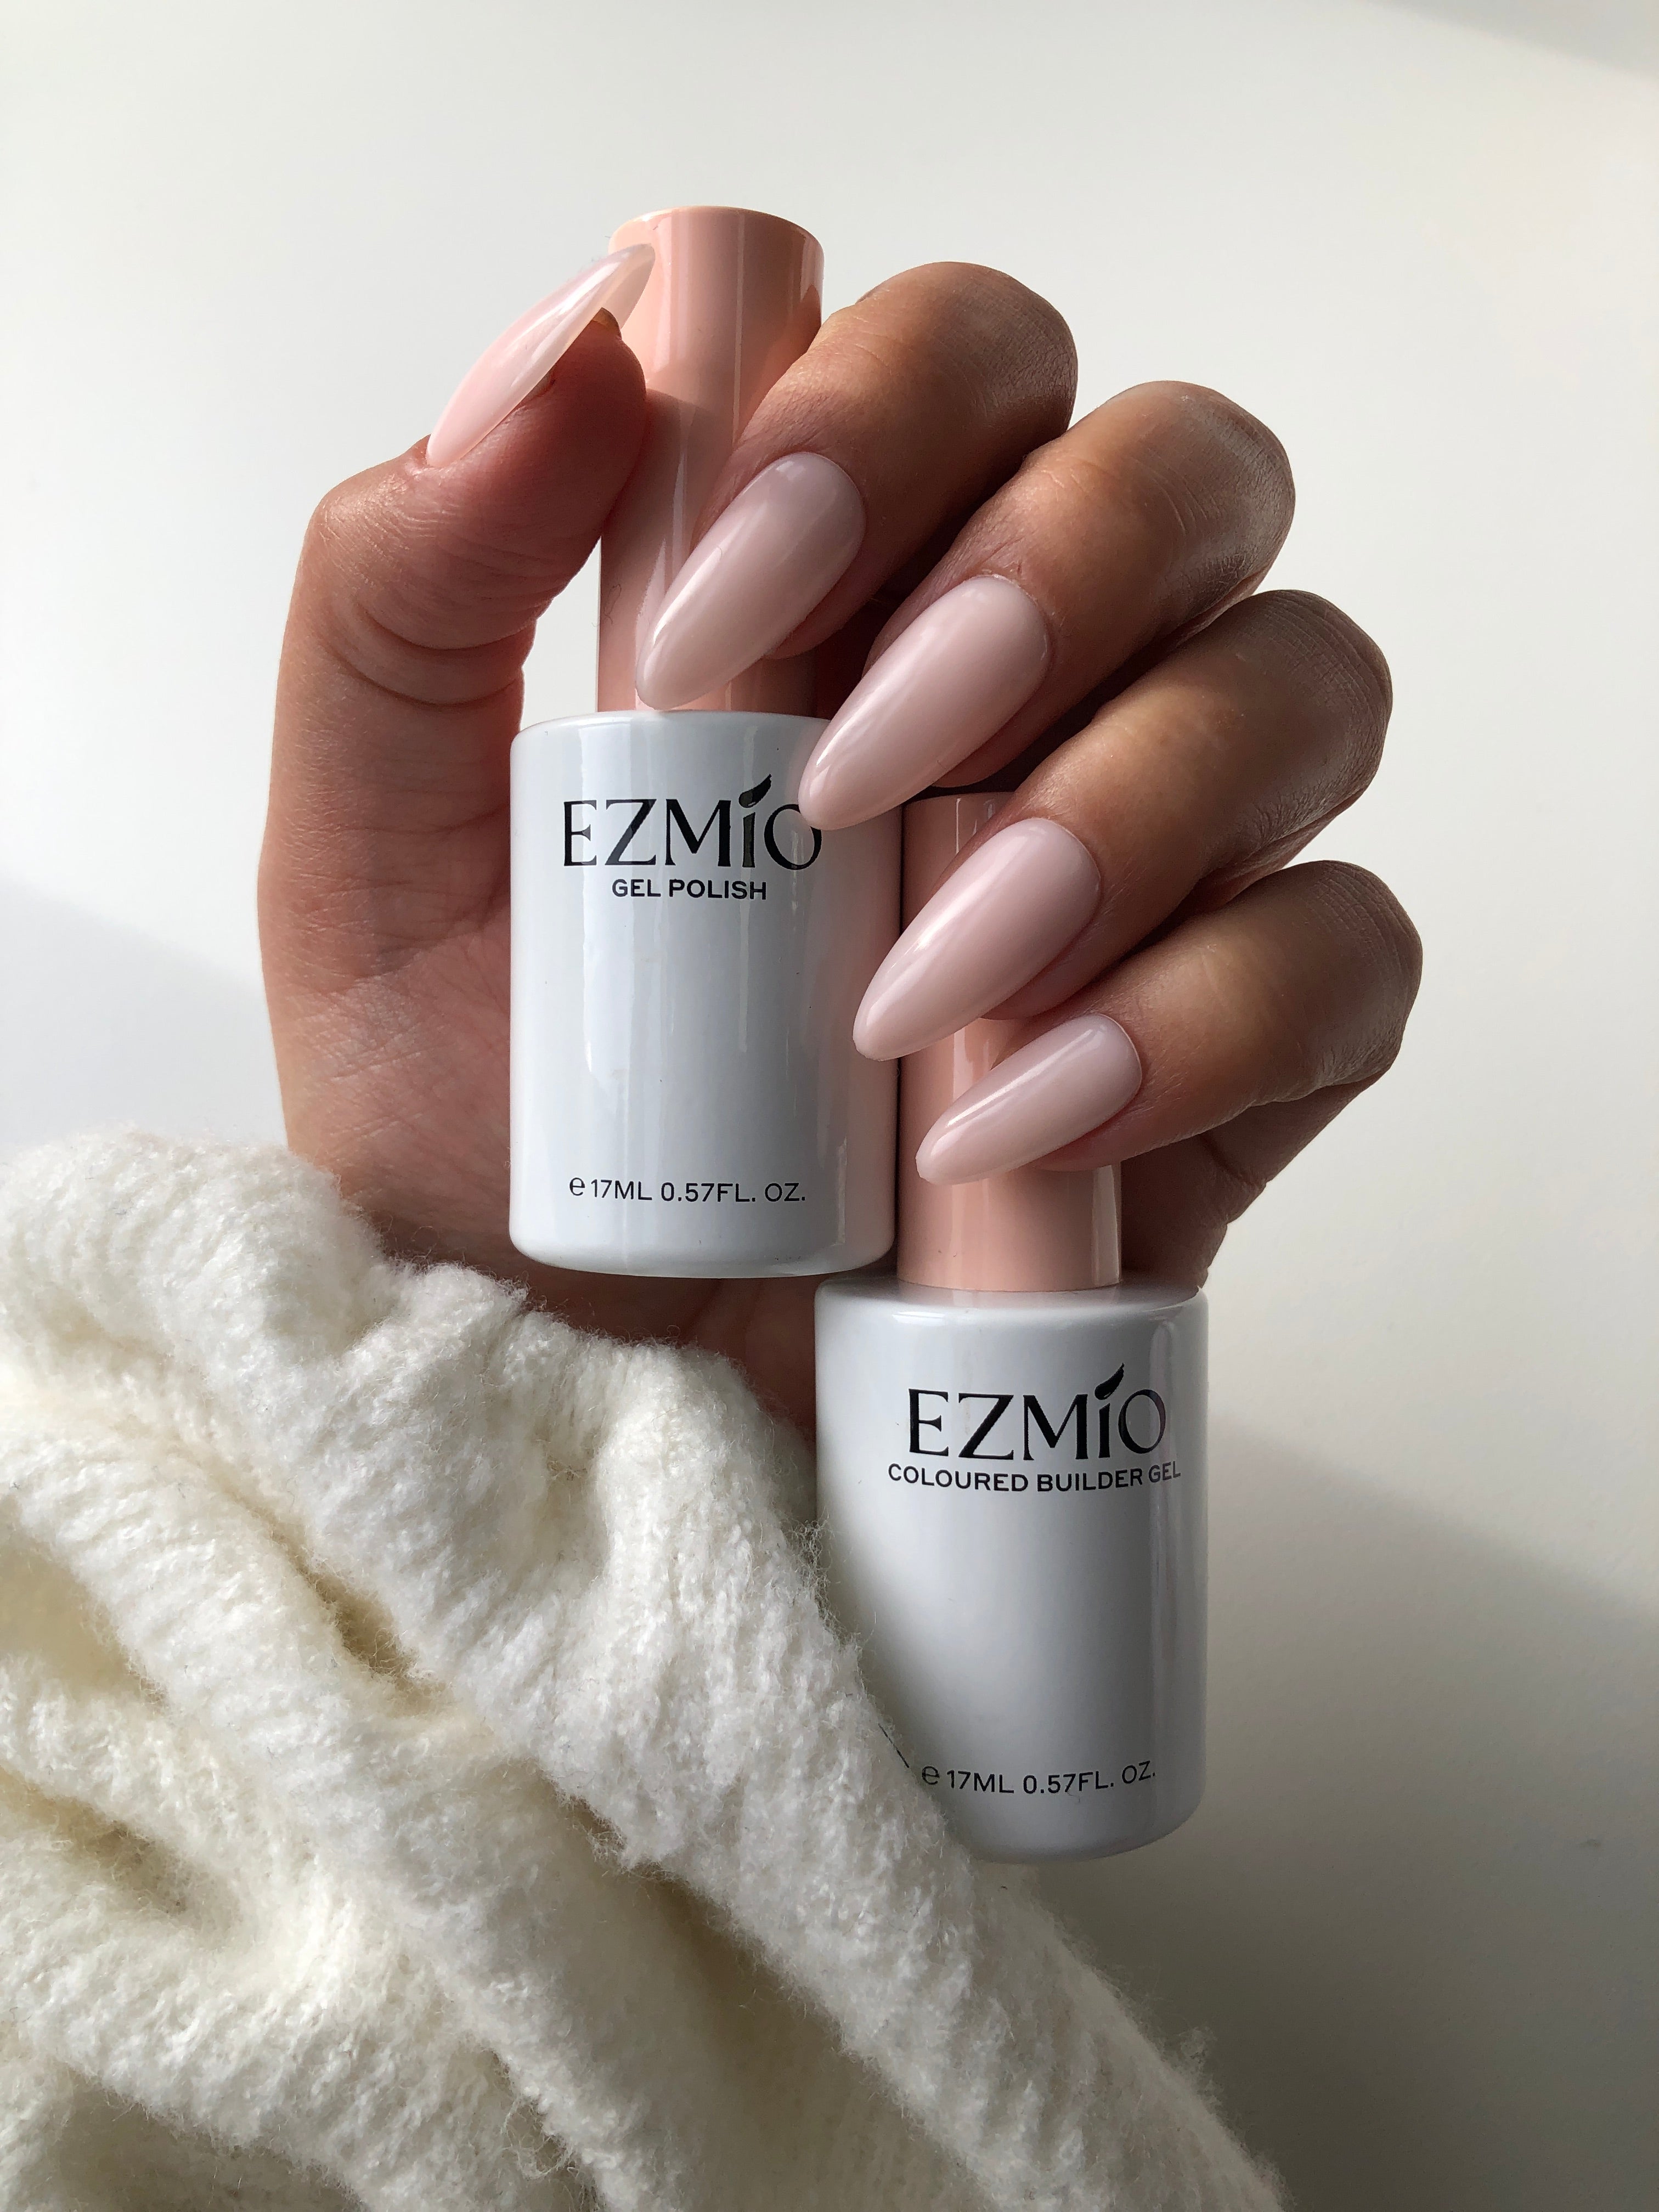
- Clean up debris using the Ezmio Mini Nail Brush to remove dust and particles.
- Dehydrate with the Ezmio Nail Dehydrator to remove surface oils.
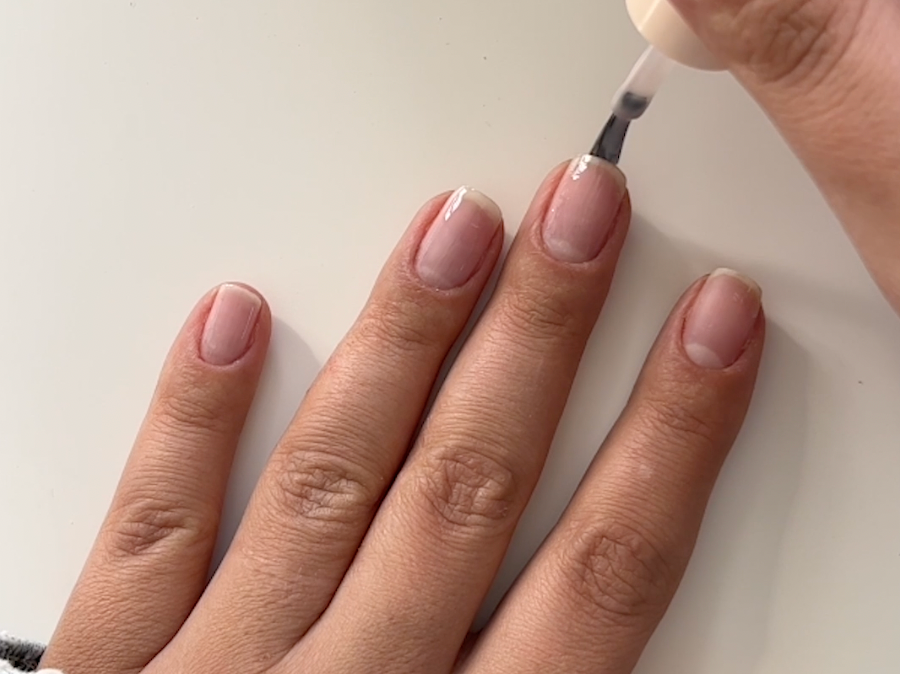
- Apply base coat using the Ezmio 2-in-1 Base Coat & Extension Gel Adhesive for stronger adhesion.
- Apply colour with 2–3 thin coats of Ezmio One Step Gel, avoiding skin contact to prevent lifting.
- Maintain daily with Ezmio Roll-On Cuticle Oil to keep everything flexible and healthy.
Why Every Step Matters
Skip buffing
Your new gel may have bumps from previous polish, and it won’t adhere properly to smooth, oily surfaces.
Rush the process
You’ll miss spots that cause lifting or uneven application - usually sidewalls and around the cuticle line.
Use the wrong tools
Too smooth and gel slides off. Too rough and you damage natural nails. Correct grit = correct adhesion.
Over-buff
Thin nails are weak nails. Prep is about texture, not removing layers.
What Happens When You Get It Right
Proper buffing creates the perfect foundation for everything that follows. Your One Step Gel applies smoothly, adheres strongly, and lasts the full three weeks it promises.
You’ll notice the difference immediately - no bumps, no lifting, and no wondering why everyone else’s nails last longer than yours.
Buffing properly takes maybe two extra minutes. Redoing your entire manicure because you rushed prep takes hours. The Essential Buffer is designed for this exact step - the right grit, the right texture, the right results.
Pair it with the complete prep system (Nail Dehydrator, 2-in-1 Base Coat, Mini Nail Brush), and you’ll never wonder why your manicures don’t last.
The Bottom Line
Take your time with this step. Everything else depends on getting it right.