
Is HEMA-Free Gel Polish Safe?
Skin Safety
A cleaner formula applied carelessly can still cause sensitisation. Here's the full-process approach to gel nail safety that most brands skip.

You've probably seen "HEMA-free" and "TPO-free" stamped on gel polish bottles. They've become shorthand for "safer gel." And those ingredients are genuinely worth avoiding. But here's the thing most brands don't mention: the ingredient list is only half the story.
A cleaner formula applied carelessly can still cause skin contact with reactive compounds. A thoughtful formula applied with a deliberate protocol designed to minimise exposure is genuinely safer in practice than it looks on paper.
When we developed Ezmio, we didn't just focus on what goes in the bottle. We built an entire protocol around how gel is handled, applied, cured, removed, and filed, because exposure happens at every single stage of the service, and if you're only thinking about ingredients, you're missing most of the picture.
This is about that protocol and why we believe the entire process matters as much as what's in the bottle.
Table of Contents
- Who This Is For
- What You're Trying to Prevent
- Step 1: Nitrile Gloves During Application
- Step 2: Precision Application, Then Immediate Response
- Step 3: Full Cure Under the UV/LED Lamp
- Step 4: Nail Dust Collector During Filing and Buffing
- Step 5: The Remover We Chose and Why
- Why the Whole Process Matters
Who This Is For
This is for anyone who's heard "HEMA-free" and thought that was the end of the safety conversation. It's for home users who want to understand what actually protects their skin beyond buying better gel. It's for technicians who need to know why certain steps matter for their own safety, not just their clients'. It's for anyone who wants the full picture instead of just the marketing version.
What You're Trying to Prevent
Before we get into the protocol, you need to understand what we're trying to prevent, because it shapes everything else.
Sensitisation.
Skin sensitisation from gel nail products isn't like a regular allergic reaction where you're either allergic or you're not. It develops through repeated exposure over time, and the thing that makes it particularly nasty is that you can have no symptoms at all for months or years until one day, often suddenly, your immune system mounts a full response to even trace contact with the same compound.
Why this matters: Once sensitised, you're sensitised for life. The reaction can extend beyond gel products to dental materials, medical adhesives, and other products with similar chemistry, because your immune system recognises the compound class, not just the specific brand. This is cross-reactivity, and it's why sensitisation is permanent, not temporary.
The compounds most associated with sensitisation are the ones that remain in their reactive, uncured form during application, which is when skin contact is most likely. Fully cured gel is a stable polymer and presents very different exposure compared to liquid gel being applied.
Everything in our protocol is built around one principle: minimise the amount of uncured product that contacts skin at every stage.
Step 1: Nitrile Gloves During Application
The most direct way to prevent skin contact with uncured gel is a physical barrier between the gel and your skin.
We recommend nitrile gloves during application for anyone applying gel to others, whether you're a professional technician or doing your friend's nails. Nitrile specifically matters here because latex gloves can cause their own sensitisation reactions, and many people have undiagnosed latex sensitivity. Nitrile provides an effective chemical barrier without that risk.
Gloves protect the person doing the applying, who has the most repeated, cumulative contact with uncured product across every service. A client receiving a gel manicure has relatively limited exposure. A technician applying gel to client after client accumulates exposure in a fundamentally different way.
Gloves during self-application are impractical because you need one hand free to paint the other. In this case, the goal shifts to precision application that keeps gel off skin in the first place, with immediate response when contact happens.
Step 2: Precision Application, Then Immediate Response
The goal during application is to keep uncured gel on the nail plate and off the surrounding skin. Sounds straightforward. Mostly it is.
But gel floods the sidewalls and cuticle area, particularly with brushes that are overloaded or formulas that are too thin. Thin, controlled layers are better than one heavy coat, not only for longevity (gel that's too thick doesn't cure properly at the base) but for skin exposure, because a thin layer applied precisely to the nail plate gives you control over where the product sits, while a heavy, flooded application almost always means gel on skin.
When contact does happen (and sometimes it will), the response matters.
Alcohol wipes remove uncured gel from skin fast. Apply immediately to skin contaminated with uncured product and you remove the majority of it before it has time to sit on the skin surface.
A few important notes: Alcohol wipes remove visible product effectively, but they're a response tool, not a substitute for precision. Alcohol can temporarily increase skin permeability, so the goal is to remove the product, not rub it in. Single firm wipe over the contaminated area, then away.
Speed matters. Your skin begins absorbing compounds from the moment of contact, so immediate removal is meaningfully more protective than removal after a minute or two.
This step is built into our protocol as standard for every service, not an emergency response to a mistake, but an ordinary part of the application process that catches contact before it becomes meaningful exposure.
Step 3: Full Cure Under the UV/LED Lamp
The transition from uncured to cured gel is the most important chemical event in the entire service from a skin safety perspective.
Fully cured gel is a stable, cross-linked polymer. The reactive compounds that pose sensitisation risk (the monomers, the photoinitiator residues) are bound into the polymer network and no longer mobile. They can't migrate into skin on contact. The gel goes from chemically active liquid to chemically inert solid.
This is why cure completeness isn't just a longevity issue. It's a safety issue.
Lamp wattage affects cure completeness. Colour depth affects it. Layer thickness affects it. Cure time affects it. But from a sensitisation perspective, the principle is simple: uncured or partially cured gel in contact with skin presents real exposure risk. Fully cured gel doesn't.
Why we chose 60 seconds: Our One Step Gel uses 60 seconds under a 36W dual-wavelength UV/LED lamp because we prioritised cure completeness over speed. A 30-second cure that leaves partially polymerised material at the nail bed isn't a trade-off we're willing to make, even if the result looks the same to the naked eye.
One additional note: the inhibition layer (the slightly tacky surface that remains on gel after curing) is a normal result of how free-radical polymerisation works in the presence of oxygen. It's not uncured gel in the meaningful sense, but it's worth avoiding prolonged skin contact until it's cleansed or sealed with a No-Wipe Top Coat. Standard cleansing with an alcohol-based wipe between layers and after the final cure handles this appropriately.
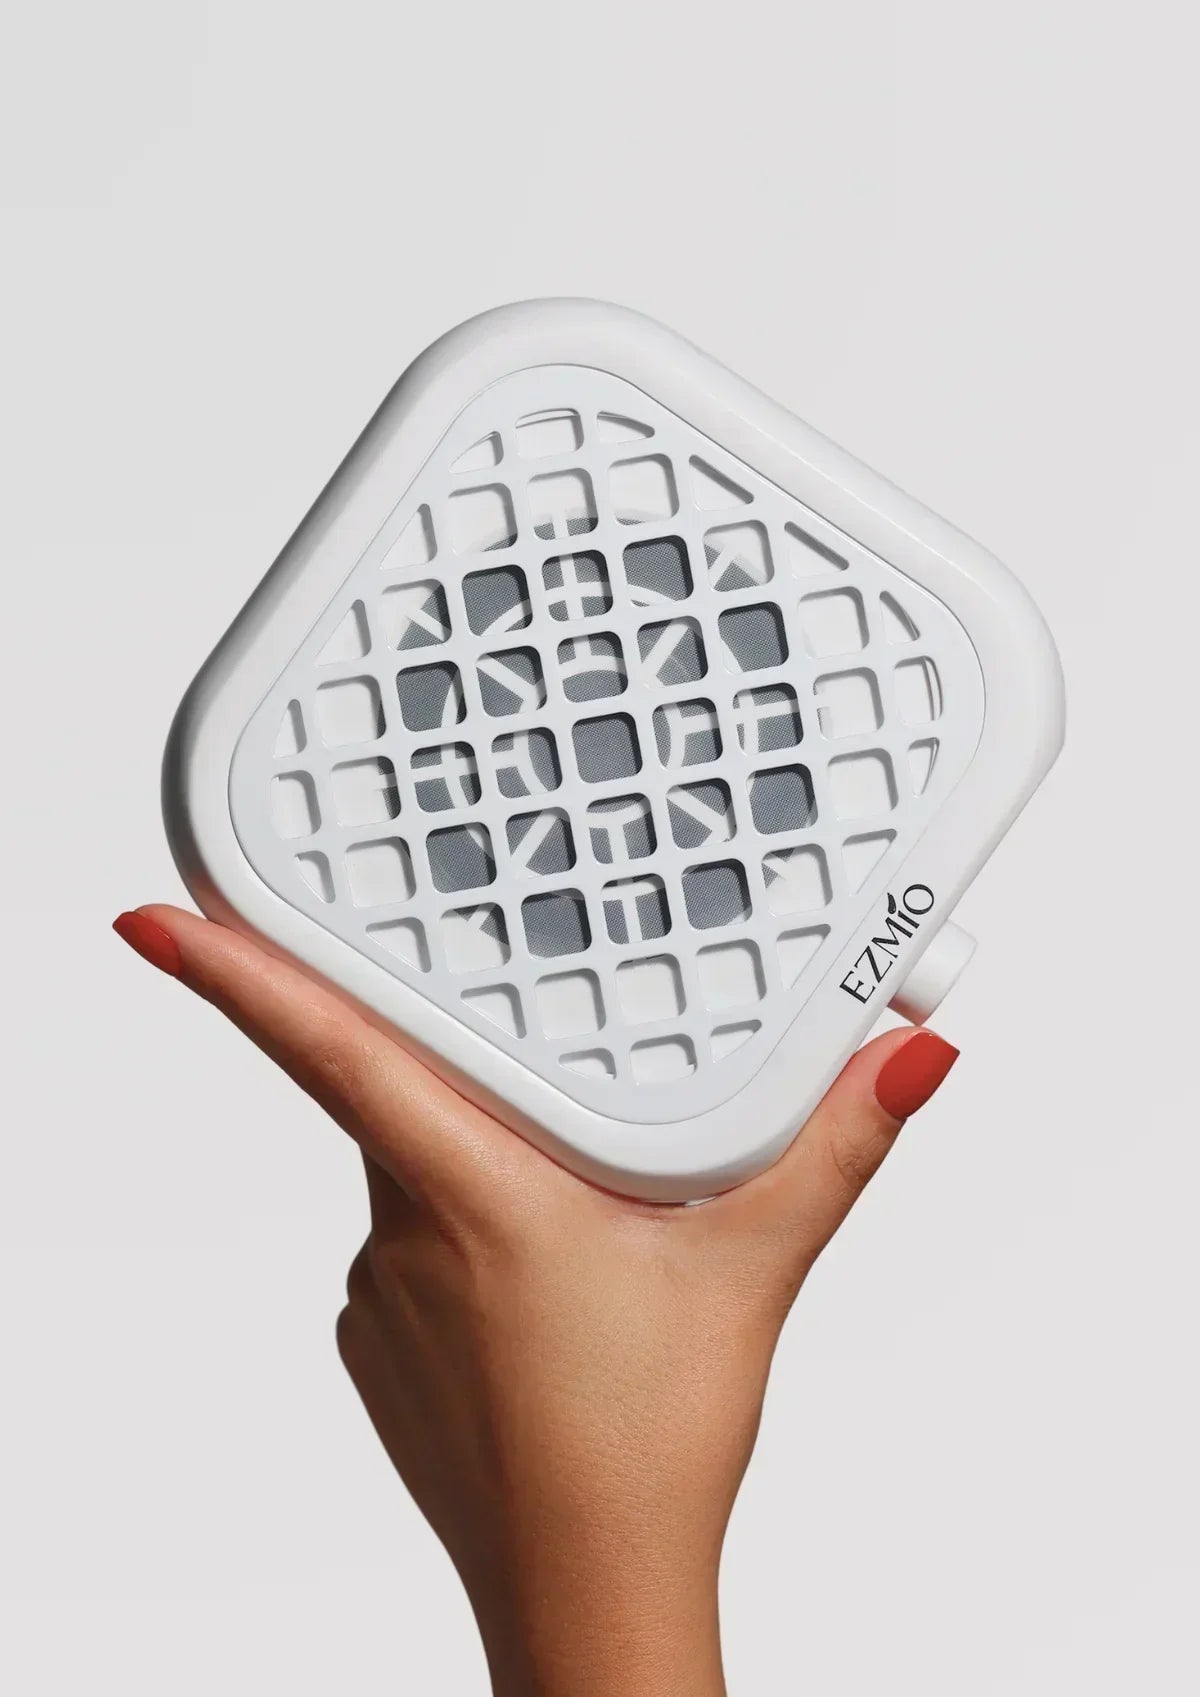
Step 4: Nail Dust Collector During Filing and Buffing
Gel removal and nail prep involve filing cured gel, and that creates a different but equally important exposure vector: nail dust.
When cured gel is filed, it generates fine particles containing fragments of the polymer, pigments, photoinitiator residues, and other ingredients from the original formula. These particles are small enough to stay suspended in the air around your workspace and light enough to be inhaled, and the carcinogenicity classification that applies to titanium dioxide (a common pigment ingredient) applies specifically to inhalation of fine particles, not skin contact.
Nail dust is the mechanism by which that classification becomes relevant to real-world nail services.
Our dust collector runs at 6,000 RPM and is positioned to draw air from directly in front of the filing area, capturing most airborne particles before they can disperse. At this speed with correct hand positioning (filing directly over or adjacent to the intake), the collector intercepts most of what's generated at the source.
The disposable filter gets changed after each use, which matters more than it might seem, because a reusable filter that's accumulated product from multiple sessions doesn't just lose suction efficiency, it can become a secondary exposure source, releasing previously captured particles when disturbed. Fresh filters maintain consistent performance without that risk.
Hand positioning throughout filing determines whether the collector actually works. The intake draws from directly in front of it, not from the whole room. Consistent technique (keeping the nail being filed in line with the intake throughout, not just at the start) is what makes the collector effective rather than decorative.
Step 5: The Remover We Chose and Why
Gel removal is the final exposure event in the service cycle, and it deserves the same deliberate attention as application.
Acetone soak-off (the traditional removal method) is effective but creates extended skin contact time, typically ten to fifteen minutes of acetone-soaked cotton pressed against the nail and surrounding skin, and acetone strips the skin's lipid barrier aggressively, which is a problem on its own, but the more significant issue is that barrier disruption increases skin permeability to whatever comes next, including the fresh gel you're about to apply.
Our Gel Remover operates through a different mechanism. Rather than requiring extended soaking, it works through solvent action that allows gel to be lifted and removed with minimal skin contact time. No soaking. No foil wrapping. No extended barrier disruption before the next application.
It contains no sodium hydroxide (a caustic alkali present in some gel removers that can cause genuine skin corrosion at higher concentrations). It contains no HEMA or HEMA derivatives. The removal process is gentler on the skin barrier in a way that directly matters for what happens at the next service.
Each of these steps addresses a different point where skin contact with reactive compounds can occur:
Nitrile gloves protect against cumulative applicator exposure during application. Alcohol wipes remove product immediately on skin contact during application. Full cure at 60 seconds converts reactive liquid to inert solid at the nail bed. Dust collector captures particles generated during filing before they become airborne exposure. Gentle remover minimises barrier disruption and contact time at removal.
None of these steps alone is sufficient. Together they form a protocol that addresses every meaningful exposure point in the service cycle.
The gel nail industry has focused heavily on ingredient lists as the measure of skin safety, and ingredient lists matter enormously, which is why we chose HEMA-free formulas, scrutinise every photoinitiator on every MSDS, and made the product decisions we've made, but ingredients are the starting point, not the whole answer.
The whole answer is what happens from the moment you open the bottle to the moment the last filing dust is captured in the collector.
We've thought about all of it. That's the difference.
Every product in the Ezmio range has been chosen with this protocol in mind, from the formulas we stock to the equipment we recommend. If you have questions about safe gel application or want to understand more about the ingredients in our products, we're here to help.
