Why Is My Builder Gel Peeling Off? 7 Fixes

Your builder gel is peeling off because something broke down the adhesion between the product and your nail plate, and it is almost always something that happened in the prep or application steps rather than anything wrong with the gel itself. Here are the seven most common reasons, starting with the one I see cause the most trouble.
Go through all seven. They compound.
1. You Skipped the Nail Dehydrator
The dehydrator removes moisture from the nail plate. That is the job. If your nail plate has surface moisture when builder gel goes on, the gel bonds to the moisture rather than the nail, and it will lift regardless of how good your application is or how long you cured it, because the foundation was wet and wet surfaces do not hold gel.
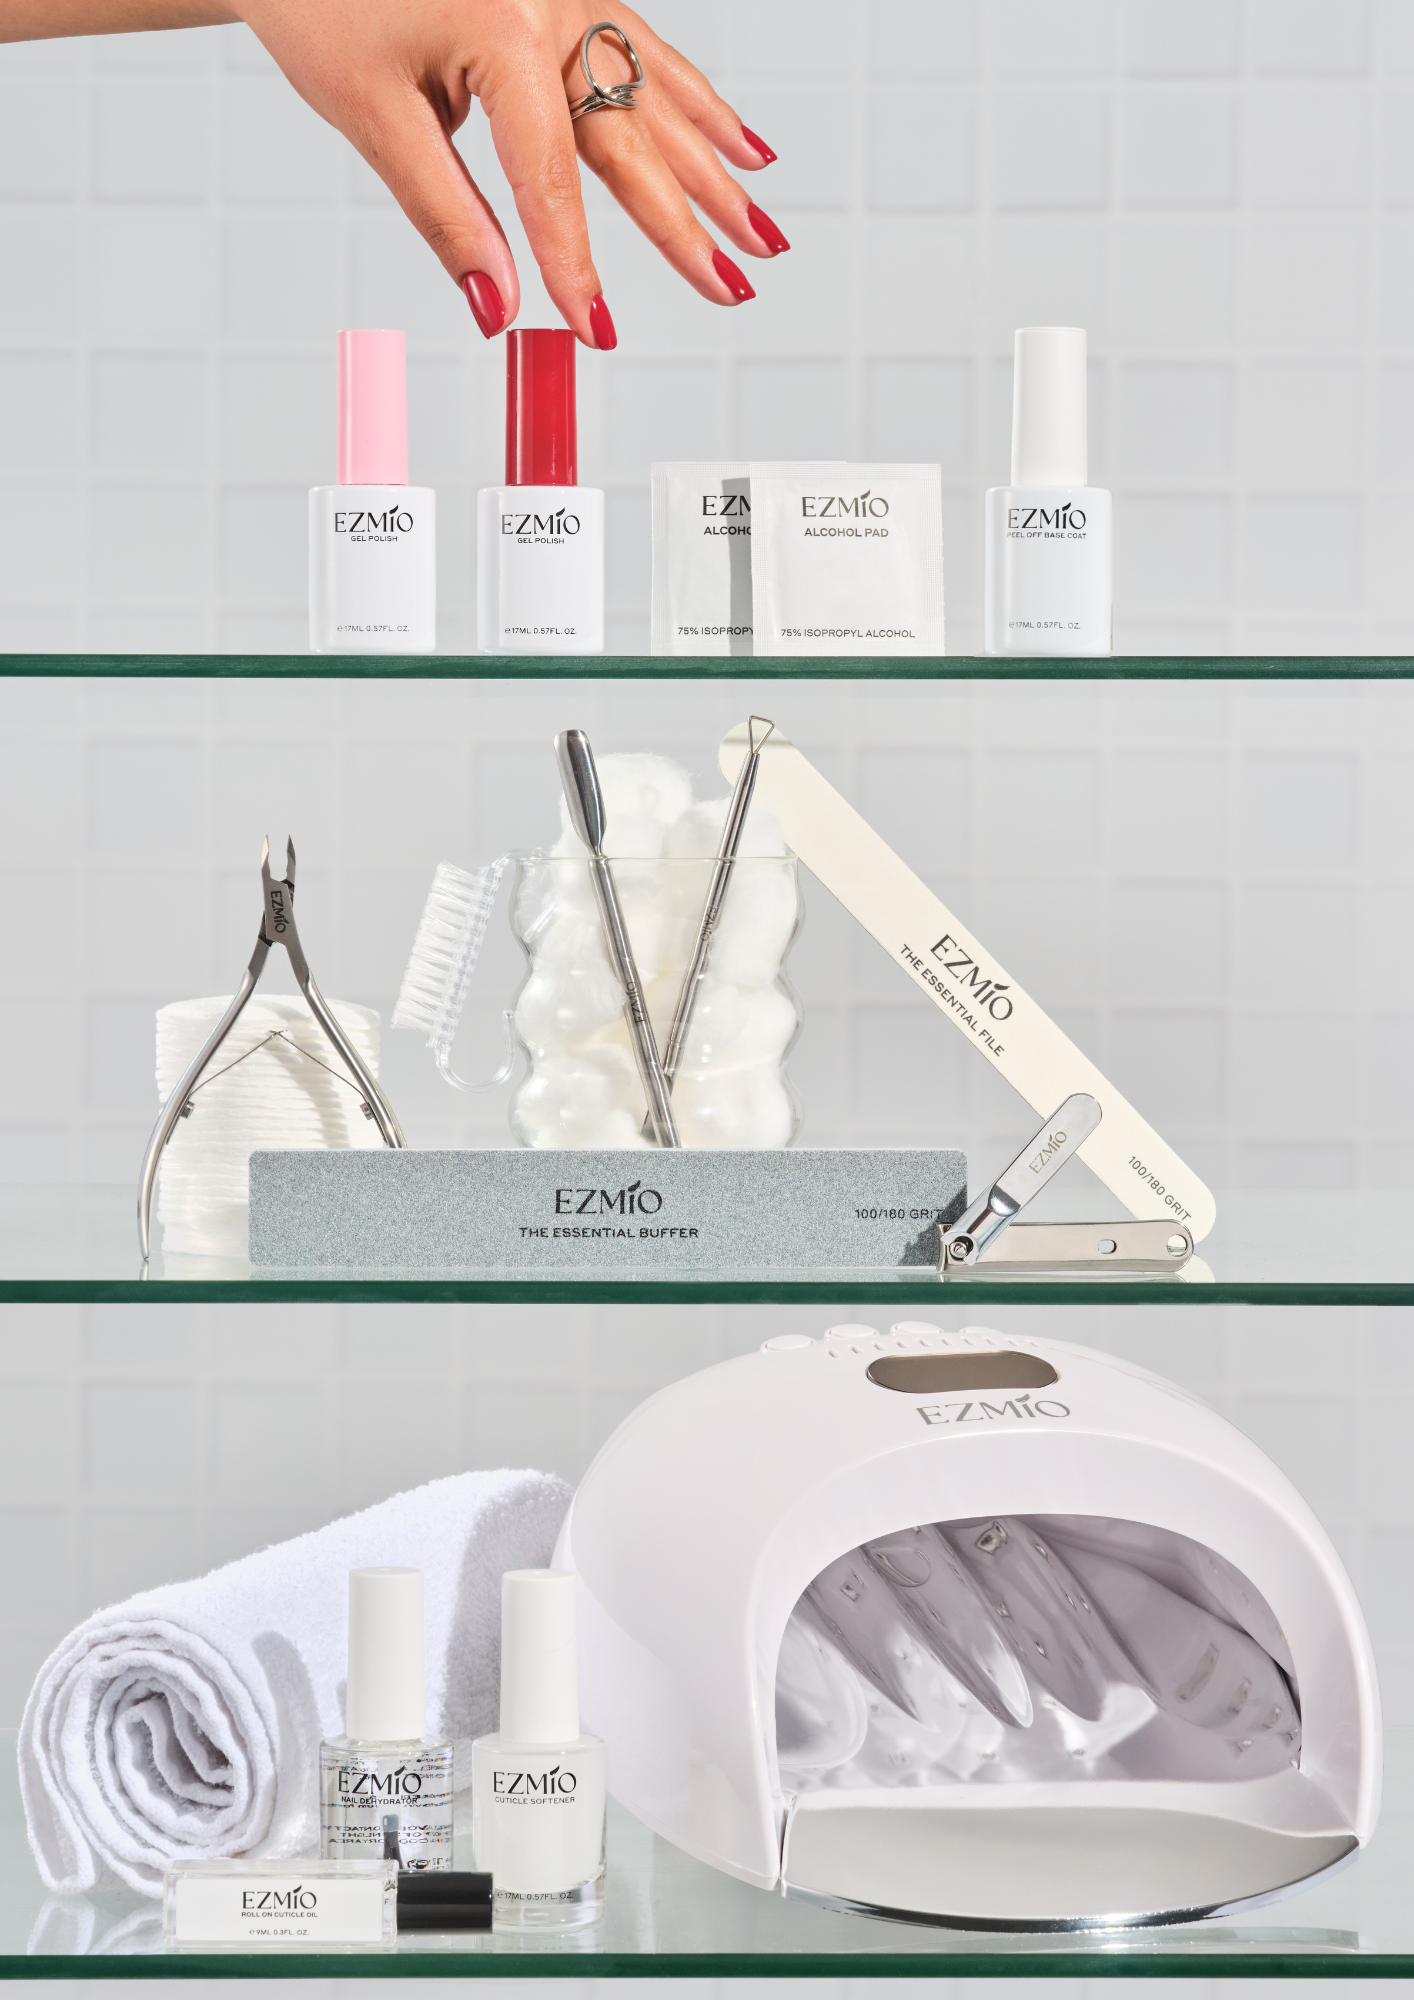
Apply Nail Dehydrator. Wait for the matte finish. Do not touch the nail afterwards. Our nail prep and buffing guide walks through the full prep sequence in detail, including how to buff correctly before any product goes on.
2. The 2in1 Base Coat Was Skipped or Under-Applied
The 2in1 Base Coat and Extension Gel Adhesive is what builder gel actually grips to. One coat, cure 60 seconds, cap the free edge. That is the sequence.
If this step is skipped, applied unevenly, or the free edge is not capped, you have a gap in the adhesion surface and builder gel will find it, usually lifting from the cuticle line or from the tip first because those are the two areas where an incomplete base coat shows up fastest and most obviously.
3. Product Touched Skin or Cuticle During Application
One contact point is enough. Any builder gel that touches the surrounding skin or cuticle during application will lift at exactly that point once cured, and because lifting creates a gap that moisture gets into, it spreads from there across the rest of the nail over the following days.
Use a Pro Cuticle Pusher before you start and keep a liner brush nearby during application to get close to the cuticle edge without touching the skin. If product touches skin before curing, remove it with an angled brush dipped in alcohol to clean it up before curing. After curing, that contact point cannot be fixed without removal and reapplication. If you are unsure what is actually skin versus cuticle versus the nail plate, the Truth About Cuticles blog explains the difference, because most people are working on the wrong bit of skin.
4. Your Layers Were Too Thick
Builder gel cures from the surface inward, and if the layer is too thick, the lamp cannot penetrate to the base of the product, which means the gel right at the nail plate level stays undercured even when the top surface has hardened completely, and undercured product at the base is one of the main structural causes of lifting that gets misdiagnosed as an adhesion problem.
Thin layers.
Apply a thin slip layer first without curing. Pick up a small bead and float it over the nail to build structure. Turn your hand upside down for a few seconds so the gel self-levels. Flash cure 10 seconds. Repeat per nail, then cure the full hand on 99-second low heat mode. The full application technique is covered in the How to Use Builder Gel guide if you want to see each step in sequence.
5. You Cured on Standard Mode Instead of Low Heat
Ezmio builder gel can be applied two ways. If you are applying it in thin coats like regular gel polish, a standard 60-second cure works fine and will not cause heat spikes because the product layer is not thick enough to generate them. If you are building structure with a thicker bead, that is when the 99-second low heat mode matters: thick product applied as a structure build needs low heat to cure evenly without the burning sensation some people experience.
Flash cure between structure layers for 10 seconds. Final cure on 99-second low heat if you have applied a structural bead. Standard 60-second cure if you have applied thin coats. Use the Ezmio Nail Lamp's timer settings accordingly.
6. The Free Edge Was Not Capped
Capping means dragging a thin layer of product across the very tip of the nail to seal the edge shut. If you skip this at the base coat stage and again at the top coat stage, the free edge is open, and an open edge is an entry point for moisture, impact, and everyday use to get underneath the product and start lifting from the tip inward.
One stroke across the tip of each nail at the 2in1 Base Coat stage. Same again with the No Wipe Top Coat. Ten seconds total. It is the fix for tip lifting almost every time.
7. Hand Cream or Cuticle Oil Before Application
I know this sounds like an obvious one, but it is genuinely the cause more often than people expect, because most women moisturise their hands regularly without thinking about it, and one application of hand cream before doing your nails leaves enough residue on the nail plate to prevent adhesion even after you have dehydrated, which means the dehydrator does its job and then the hand cream undoes it.
Apply cuticle oil and hand cream after the set, not before.
Wipe nails with an Alcohol Prep Pad immediately before starting, even if you dehydrated earlier. For prolonged water exposure, gloves protect the edges and extend wear.
If you have gone through all seven and lifting persists, it is usually a combination of two or three factors rather than a single cause. Start at nail prep and work forward through each step. For the broader picture of what to do and what to avoid with builder gel, the Dos and Don'ts of Builder Gel covers both application and common mistakes in one place. And if the question you started with is actually whether builder gel is damaging your nails rather than just lifting, that is a different question with a different answer, covered in Does Builder Gel Ruin Your Nails.
Browse the Essential Builder Gel Nail Kit at ezmiobeauty.com, which includes every tool needed to get each step right from the first set.