How to Remove Gel Nails Done With a Kit at Home
The removal method depends on which kit you used. Gel polish removes with acetone soak-off or a peel-off technique if you applied a peel-off base coat; builder gel removes the same way but with a filing step first; and press-on nails remove with warm water and oil, no acetone involved. The kit you used tells you which process applies.
One thing to clarify before going further. If your kit is from Ezmio, it is a gel product, not acrylic. Acrylic and gel finish nails look similar but are different formulas that remove differently. Everything below covers gel and press-on removal because that is what Ezmio kits use.

If You Have the Gel Nail Kit ($189)
The Gel Nail Kit uses One Step Gel Polish and does not include a dedicated remover — it gives you the Alcohol Prep Pads needed for application. For removal, you have two options.
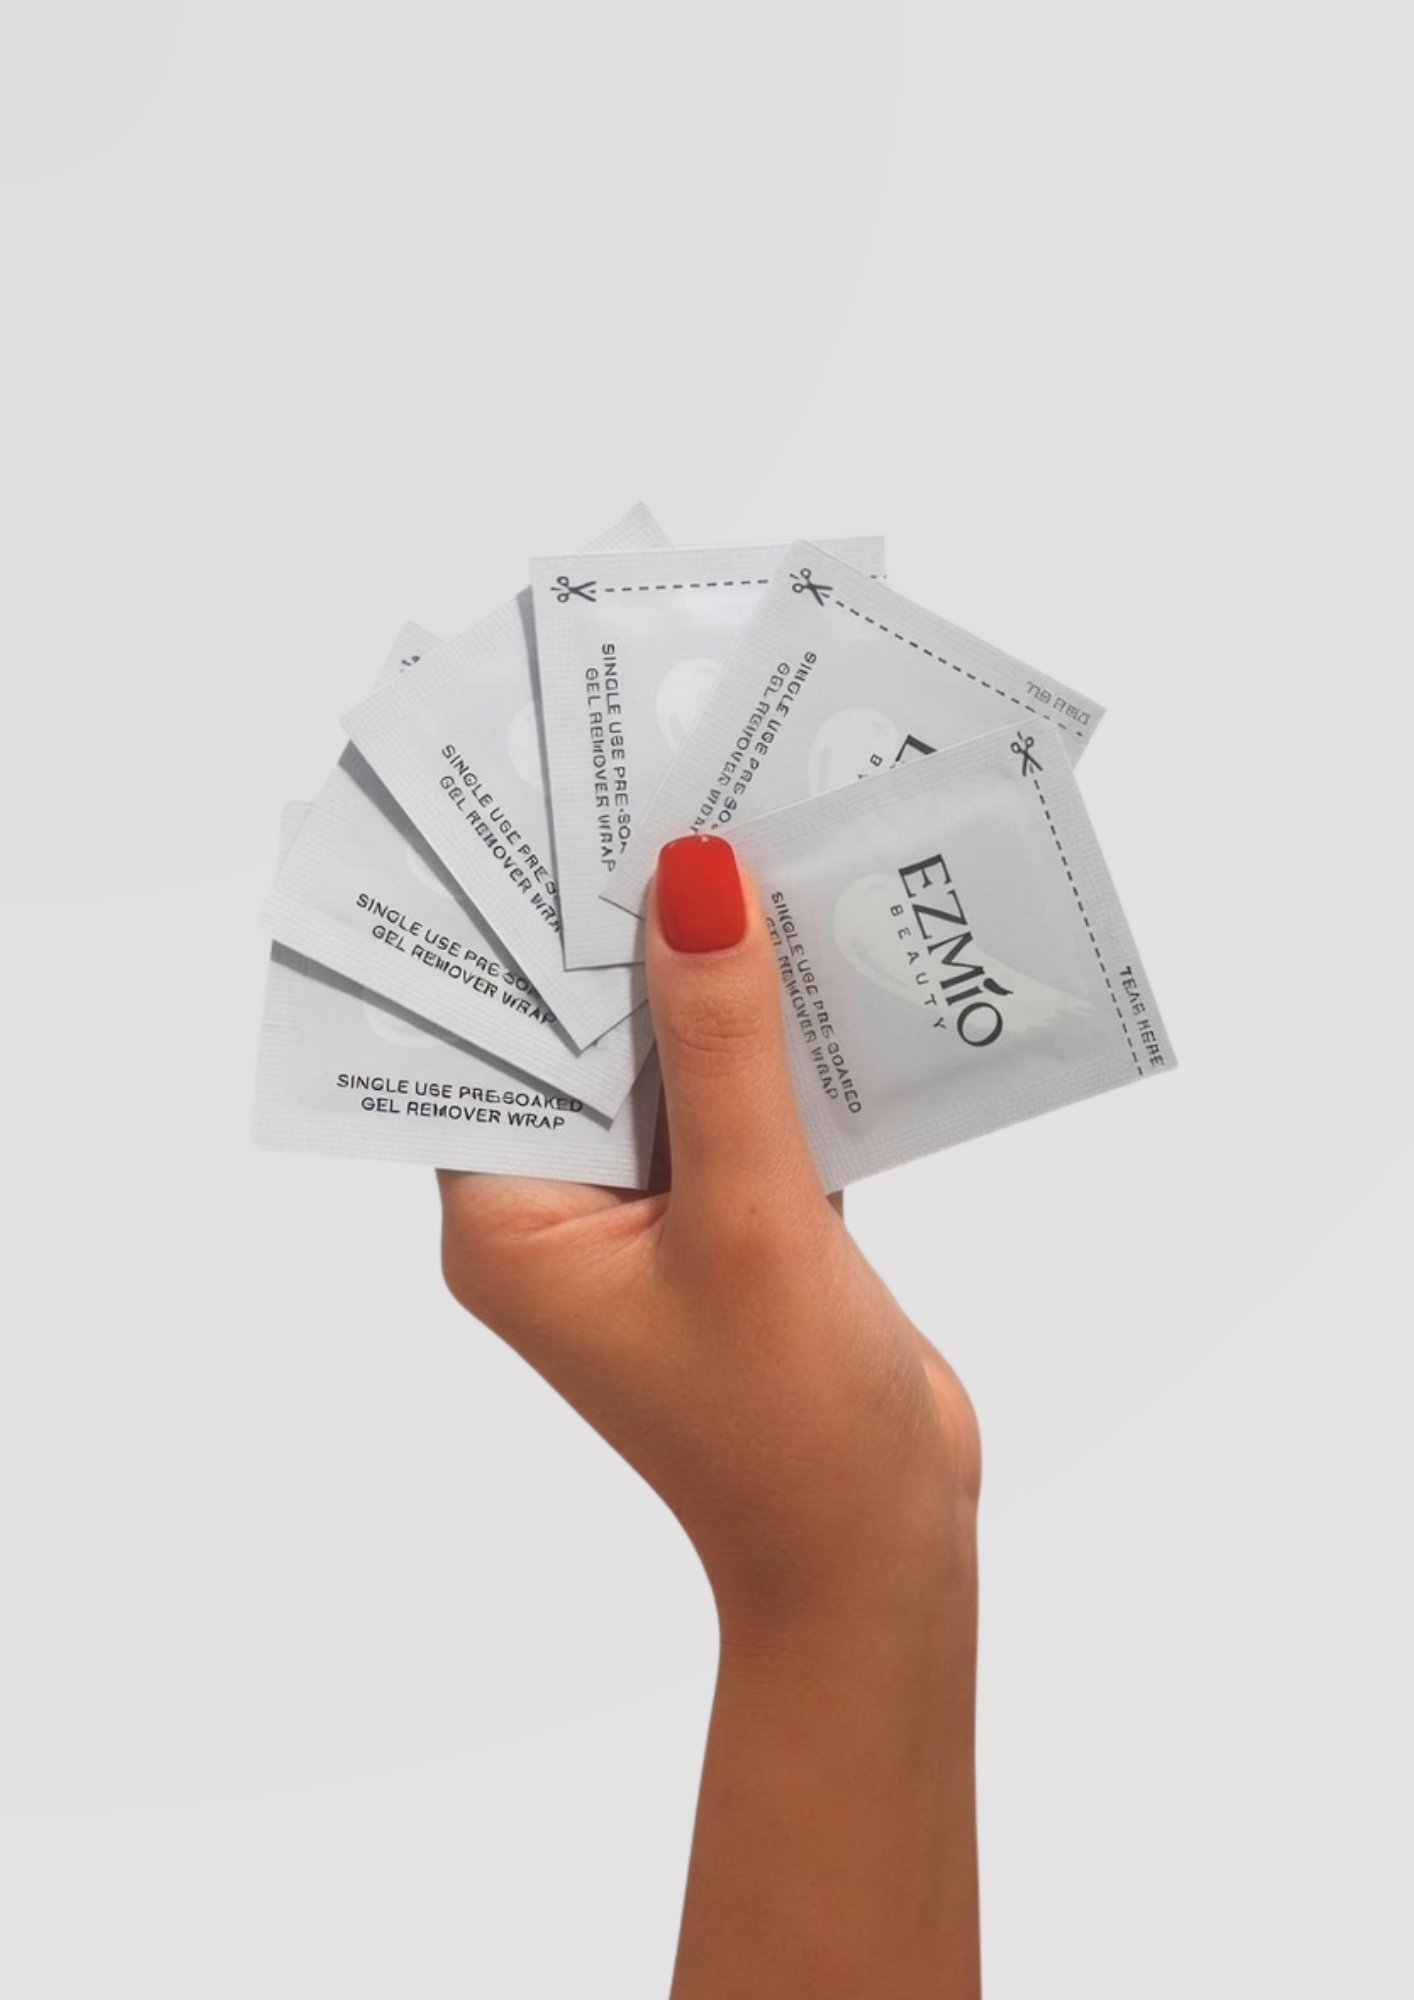
Option A: Pre-Soaked Acetone Gel Remover Wraps
The Pre-Soaked Acetone Gel Remover Wraps can be purchased separately. Each wrap comes pre-filled with a Conditioning Remover Formula and is ready to use straight from the sachet — no cotton pads, no foil, no bowl of acetone required.
- Gently file the nail surface until approximately 20% of the gel remains.
- Tear open the sachet and place your finger inside so the cotton pad covers the entire nail.
- Peel the backing off the adhesive strip and press the sides firmly together to seal around your finger.
- Leave on for 10 to 15 minutes.
- Remove the wrap and use a Pro Scraper Tool to ease the softened gel away, working from the cuticle toward the tip.
If gel remains, re-wrap for a further five minutes. Never force it. Finish with a light buff and cuticle oil.
Option B: Acetone Soak-Off With Foil
This is the traditional method and works with any gel polish kit, Ezmio or otherwise. Ezmio's Foil Gel Remover Wraps give you a pre-cut foil and cotton pad in one, ready to saturate with acetone — a more convenient version of the same method. Or use standard acetone, cotton pads, and foil strips.
- File the nail surface until approximately 20% of the gel remains.
- Saturate a cotton pad with acetone and place it over the nail.
- Wrap the foil tightly around the finger to create a seal.
- Leave on for 10 to 15 minutes.
- Use a scraper tool to push the softened gel away from the cuticle toward the tip.
If You Have the Essential Gel Nail Kit ($229) or Pro Gel Nail Kit ($329)
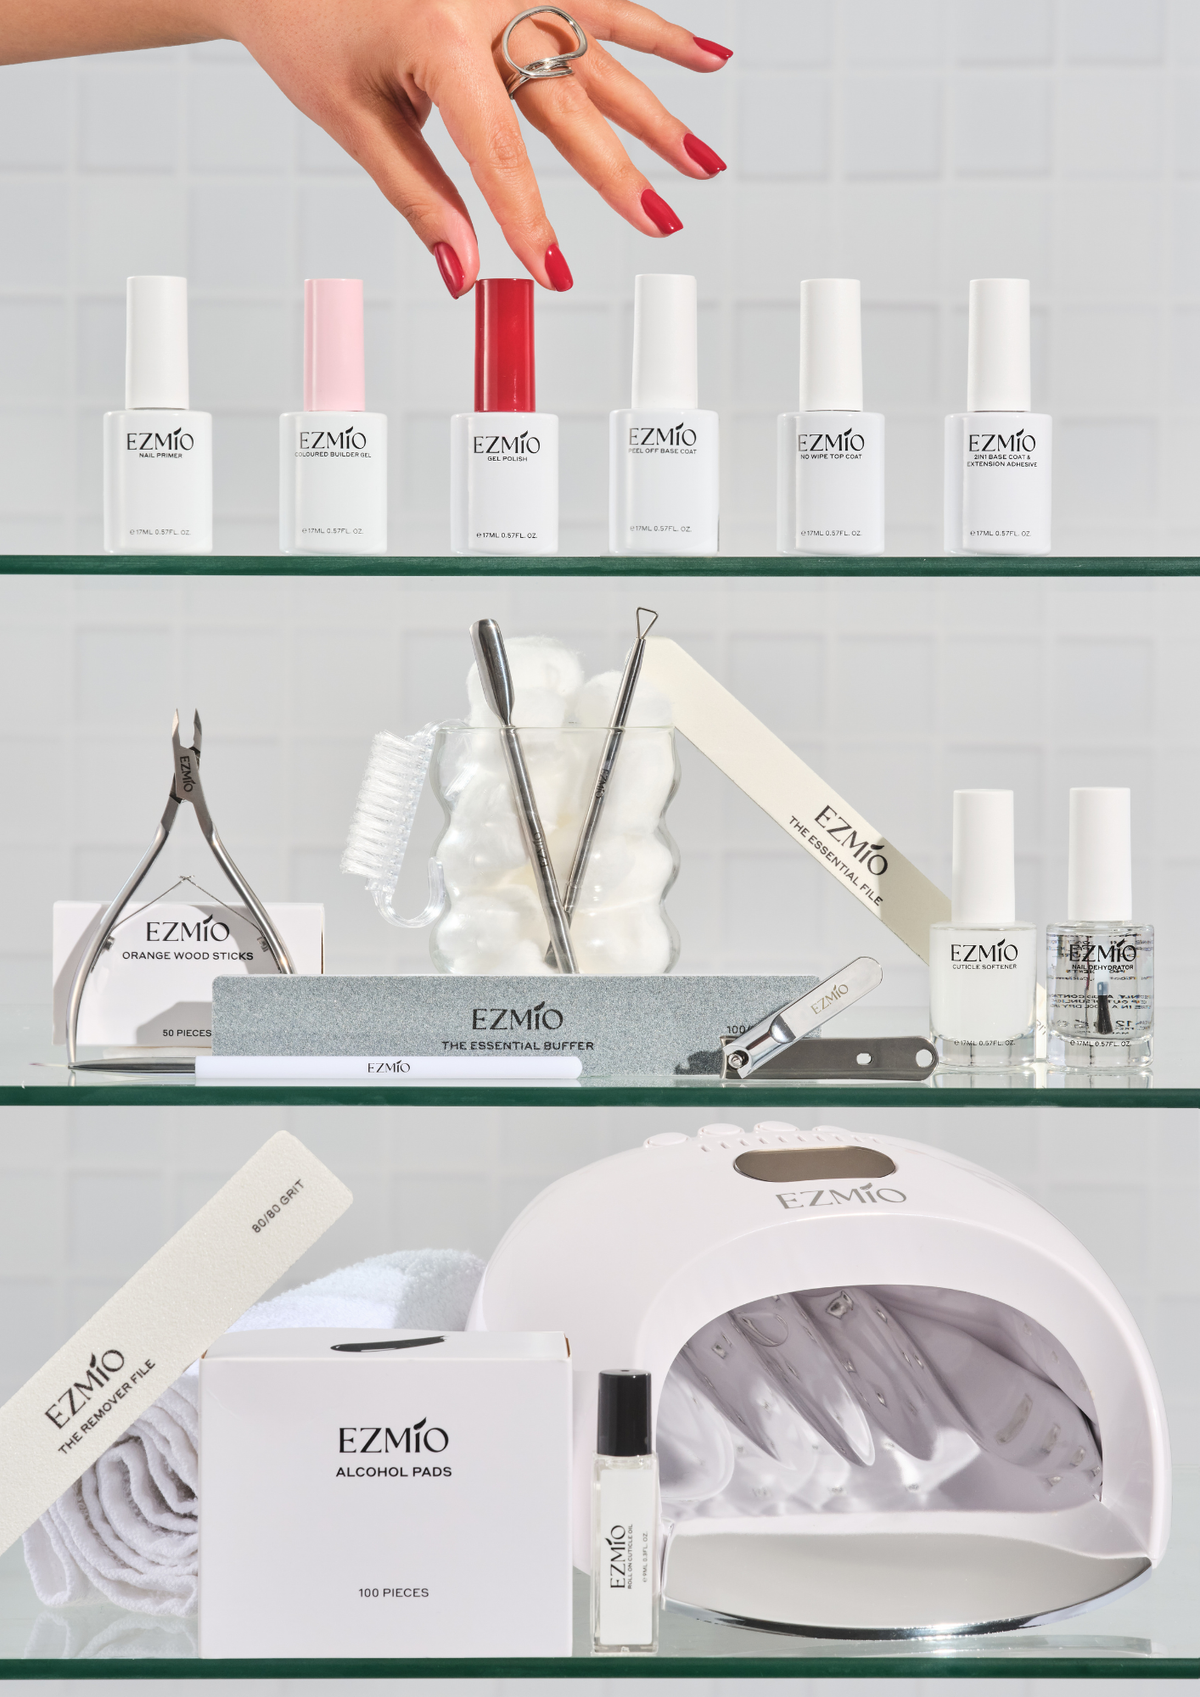
The Essential Gel Nail Kit and Pro Gel Nail Kit both include the Pre-Soaked Acetone Gel Remover Wraps (Pack of 200 — enough for up to 20 full sets of removal). Both kits also include the Pro Scraper Tool, which is what you use to ease the softened gel away.
The removal process is the same as Option A above. File to 20%, wrap, leave 10 to 15 minutes, push away. The difference is that you do not need to buy anything separately — everything required is already in the kit.
The Essential Gel Nail Kit also gives you the choice at checkout of the Peel Off Base Coat instead of the wraps, which changes the removal method entirely. If you chose that option when you ordered, see the Peel Off Base Coat section below.
If You Have the Peel Off Gel Nail Kit
The Peel Off Gel Nail Kit is built around the Peel Off Base Coat, which is applied under the gel colour before you start. No acetone required for removal.
Removal is straightforward. No filing, no soaking, no wraps.
- Using the flat side of an orange wood stick, glide along the edge of the gel polish to lift it from the nail surface.
- Once it begins to lift, peel the remaining gel away with your fingers.
- Lightly buff any remaining residue with the Essential Buffer.
- Wipe the nail clean with an Alcohol Prep Pad.
- Finish with cuticle oil or hand cream.
The peel-off base coat is designed for one to two weeks of wear. It is the method I'd point anyone toward who likes changing their colour frequently, because removal takes about 30 seconds rather than 15 minutes.
If You Have the Essential Builder Gel Nail Kit ($289)
Builder gel is thicker than gel polish and builds structural length and strength above the nail, which means removal needs a filing step before acetone can do its job. The Essential Builder Gel Nail Kit includes a Remover File and a Pro Scraper Tool specifically for this.
- Use the Remover File to file away approximately 80% of the builder gel.
- Use either the Foil Gel Remover Wraps or the Pre-Soaked Acetone Gel Remover Wraps, and leave on for 10 to 15 minutes.
- Use the Pro Scraper Tool to ease the softened gel away, working from the cuticle toward the tip.
- If product remains, re-soak for a further five minutes. Never force it.
- Finish by lightly buffing the nail and applying cuticle oil.
Builder gel may require more soak time than regular gel polish depending on how thick it was applied. The extra step at the start — the heavy filing — is what makes the difference; without filing first, the acetone cannot reach the product at the nail plate level and the soak will not work. There is more on builder gel removal and what goes wrong in the Does Builder Gel Ruin Your Nails guide.
If You Have the Soft Gel Extensions Kit with Lamp
The Soft Gel Extensions Kit with Lamp uses soft gel nail tips bonded to the natural nail with a base coat adhesive. Removal follows the same soak-off process as builder gel: file down the surface first, then wrap the nail for 10 to 15 minutes, then ease away with the Pro Scraper Tool. Do not skip the filing step. It is what allows the acetone to penetrate the bond.
Re-soak if needed. Never peel or force the tips off. The nail plate underneath should come out looking exactly as it did before the set went on.
If You Have the DIY Press On Nails Kit ($61)
The DIY Press On Nails Kit is the one kit that has nothing to do with acetone. Press-on nails apply either with Brush On Nail Glue or Adhesive Tabs, and they remove with warm water, soap, and oil. No filing, no chemicals.
Short-term wear with adhesive tabs (1 to 3 days): the tabs release with gentle pressure. If needed, soak nails in warm water with soap and oil for 15 minutes first.
Longer wear with nail glue (2 weeks or more): soak nails in warm water mixed with soap and oil for 15 minutes. The glue will soften and the press-ons will release.
Do not force them. The warm water and oil are doing the work — give them time and they will come away cleanly.
The One Thing That Causes Most Removal Problems
Across every kit type, the mistake that causes nail damage is forcing the product off before it has softened enough. Filing too aggressively into the nail plate during builder gel removal, peeling gel polish that hasn't fully soaked, or yanking press-ons before the glue has had time to soften — all of these damage the nail plate in the same way, and none of it is caused by the removal product.
The process works when you let it. Re-soak, re-wrap, or extend the warm water soak. Five more minutes is always worth it.
Full step-by-step removal instructions for every kit and product type are in the How To guides at ezmiobeauty.com. And if your builder gel is lifting before removal rather than after, the Why Is My Builder Gel Peeling Off guide covers the seven most common causes.